
When we talk about aquarium backgrounds, it can mean several slightly different thingss:
- The back glass panel of an aquarium tank is either exactly the same as all other sides or altered in terms of color, material or transparency. Those alterations can either be made by the manufacturer (e.g., “Prostar Rimless 230 Gallon Peninsula Setup tank” by Pro Clear Aquatic Systems with a black back panel) or yourself after purchasing a tank. The DIY solution is usually applied on the outside of the tank due to the risk of water pollution from adhesives.
- The back part of your tank design. In aquascaping, we like to talk about foreground, middle ground and background when discussing the different sections of our aquascape. Different plants and arrangements are suited better for different areas (check out our plant guides to see which plants fits where). Backgrounds in this context are usually part of the design and consist of taller plants and hardscapes like rocks or larger roots / wood.
- 3D aquarium backgrounds. These are structured backgrounds that you can buy ready-made or make yourself and attach to the back panel of your tank - but on the inside. This makes 3D aquarium background something in-between the first two options, as they give more structure to the background than a simple foil, but are not as much part of the overall design.
In this post, we will take an in-depth look at the first and last option, namely 2D and 3D aquarium backgrounds.
2D AQUARIUM BACKGROUNDS DIY
Aquarium vinyl backgrounds / aquarium background cling
The most commonly used method for adding a 2D background to an aquarium is using vinyl backgrounds. You can either buy vinyl background that already matches the size of your aquarium or you go for a bigger piece and trim it to the needed size (buying a whole role of vinyl might also be a good idea in case you have multiple projects in the pipeline). In case you trim the cling / vinyl please make sure to cut it a bit bigger than the actual size of your back panel. This will make it easier to apply to the aquarium tank background.
Aquarium vinyl backgrounds can be found in all sorts of color and designs. The most common / best aquarium backgrounds are black, light blue or a transition from white to light blue imitating a clear sky. Please keep in mind that these are only recommendations and you can choose any motive or color you like.
How to apply vinyl / static cling aquarium backgrounds
Applying vinyl / cling to the back of your aquarium can quickly become a very frustrating process. Depending on how large your aquarium is, you’ll probably run into problems if you simply try to apply the sticky side of the foil to the glass. Using our fool-proof process will make things much easier for you:
- Clean the outside of your aquarium back panel: it’s best to use a regular household glass cleaner and glass cloth (microfiber). You can buy these at your local supermarket. Spray the glass cleaner onto the outside of the back of your tank. Make sure to cover the whole surface evenly. Use the glass cloth and polish the aquarium tank background until it is dry and clean.
- To prepare for the application of the foil onto the back panel, spray a thick layer of glass cleaner all over the back panel of the tank. Place the foil with the non-sticky side onto the glass. You should be able to take your hands off it without the vinyl / cling rolling together into its original form. In case it doesn’t stick at all try using more glass cleaner.
- Carefully remove the protective foil from the sticky side and spray the glass cleaner all over the sticky / adhesive side (make sure it is soaking wet).
- Pick up the vinyl / cling carefully and turn the sticky / adhesive side onto the back glass panel of your tank.
- Use a credit card or ruler to push out the glass cleaner between the glass and vinyl / cling. Always start in the middle of the tank and carefully push towards the edges. In case the vinyl / cling is moving, carefully relocate it. This might be a sign that too much force has been used.
- Make sure you don’t have any bubbles. You know that you are finished when the vinyl / cling sticks to the aquarium tank background.
- Pro Tip: In case you have bigger bubbles, just make a very small cut / punctuate the foil and push the air out with the credit card
- Now you take a sharp razorblade and cut the excess vinyl / cling by holding the razor blade in a 45-degree angle towards the aquarium tank background.
Painting the aquarium background
An alternative method to vinyl / cling aquarium backgrounds is to (spray) paint the back panel of your tank. This is more common when you have multiple aquariums or projects and is a cheaper alternative to the vinyl / cling aquarium background method.
Best paint for aquarium glass
Which paint is best for your aquarium glass depends on whether you want to apply it inside or outside of the tank.
Paint for the inside glass should be fish-safe and Krylon Fusion spray paint is the most recommended paint for this purpose.
If you want to paint the outside of your tank, there's a wide variety of paint types you can choose from:
- acrylic paint
- latex paint
- spray paint
- or just ordinary wall paint
We recommend using spray paint for painting the outside of your aquarium because it's very easy and straightforward to apply.
The best colors to paint aquarium backgrounds are black and light blue with a matte finish. Please keep in mind that these are only recommendations and you can choose any color you like.
Pro-Tip: I you have an aquarium lamp that needs to be clamped to your aquarium background we do not recommend to paint it, as the clamp will most likely leave visible scratch marks.
How to paint aquarium glass
First of all, we do not recommend to paint the inside of the aquarium. Although there are fish-safe products on the market, you will most likely run into problems with it at some point in time. You might for example have algae in your tank at some point, and won’t be able to remove it without damaging the paint if you applied it on the inside.
In order to paint your aquarium glass, you’ll need the following materials:
- glass cleaner
- glass cloth
- paint
- brush (it’s best to use a foam brush)
- painter’s tape
- paint tray
- an empty aquarium
- newspaper / something to muck on
- hair dryer (optional)
Step-by-step process
- Clean the outside of the rear glass of your tank: It’s best to use a regular household glass cleaner and glass cloth (microfiber). These can be bought at your local supermarket. Spray the glass cleaner onto the glass and make sure to cover the whole surface area. Now use the glass cloth and polish the aquarium tank background until it is dry.
- Use the tape and the newspaper to cover up the sides which you don’t want to paint. Make sure that the open side of the aquarium is sealed well, otherwise you will have a lot of work cleaning it which can be avoided with a bit of caution.
- It is recommended to do the painting outdoors. Make sure to use multiple layers of newspaper before placing the aquarium onto a table or the ground in order to protect both the aquarium from scratching and the surface from paint.
- Give your paint bucket a good shake before opening it. Make sure to have one hand on the lid and a firm grip so it doesn’t slip out of your hands. Alternatively, you can open the bucket and give the paint a good stir. This is important as the paint contains color particles which like to rest on the ground.
- Carefully pour paint into the tray.
- Make sure to cover your brush with paint from the tray. In case the paint is dripping off the brush, brush off the excessive paint on the rippled part of the tray.
- Carefully paint a thin layer of paint onto your aquarium background and let it dry. In case you have a hair dryer you could speed up the process by blowing hot air onto the wet paint. Make sure to keep your distance, otherwise the paint might run.
- Repeat the process at least three times until you have a thick layer of paint and don’t see any light through the painted background anymore.
- Carefully remove the tape and newspaper and you’re done!
How to spray paint aquarium backgrounds
In order to paint your aquarium glass, you’ll need the following materials:
- glass cleaner
- glass cloth
- spray paint
- painter’s tape
- an empty aquarium
- newspaper / something to muck on
- safety goggles
- safety mask
Step-by-Step process
- Clean the outside of your rear aquarium panel: It’s best to use regular household glass cleaner and glass cloth (microfiber). These can be found at your local supermarket. Spray the glass cleaner onto the rear glass. Make sure to cover the whole surface evenly. Now use the glass cloth and polish the aquarium tank background until it is dry and clean.
- Use the tape and the newspaper to cover up the sides which you don’t want to spray. Make sure that the open side of the aquarium is sealed well, otherwise you will have a lot of work cleaning it which can be avoided with a bit of caution.
- It is recommended to do the painting outdoors. Make sure to use multiple layers of newspaper before placing the aquarium onto a table or the ground in order to protect both the aquarium from scratching and the surface from paint.
- Give you spray paint can a good shake (follow manufactures instructions) before opening it. This is important as the spray paint contains color and other particles which like to rest on the ground.
- Carefully spray paint a thin layer of paint onto your aquarium background and let it dry (follow manufactures instructions). The process of drying will take about 15 minutes.
- Repeat the process at least three times until you have a thick layer of paint and don’t see any light through the spray-painted background.
- Carefully remove the tape and newspaper and you’re done!
Aquarium backlight
Another great method to enhance the look of your aquarium is the aquarium backlight screen. This is the most expensive alternative, both in terms of acquisition and maintenance costs due to the electricity needed to power the lights. But we can definitely recommend it if you have the budget and would like to add a real eye-catcher to your tank.
Backlight aquarium backgrounds can be bought in all different sizes and designs. A very popular option is to use a background with a blue to white gradient, which imitates the look of a horizon - an impression which is further enhanced by the backlighting. When deciding on this type of background, please keep in mind that some fish species prefer it shady and may be disturbed or stressed by bright lighting from above and the side. Keeping your livestock safe and comfortable should always be your utmost priority.
3D AQUARIUM BACKGROUNDS
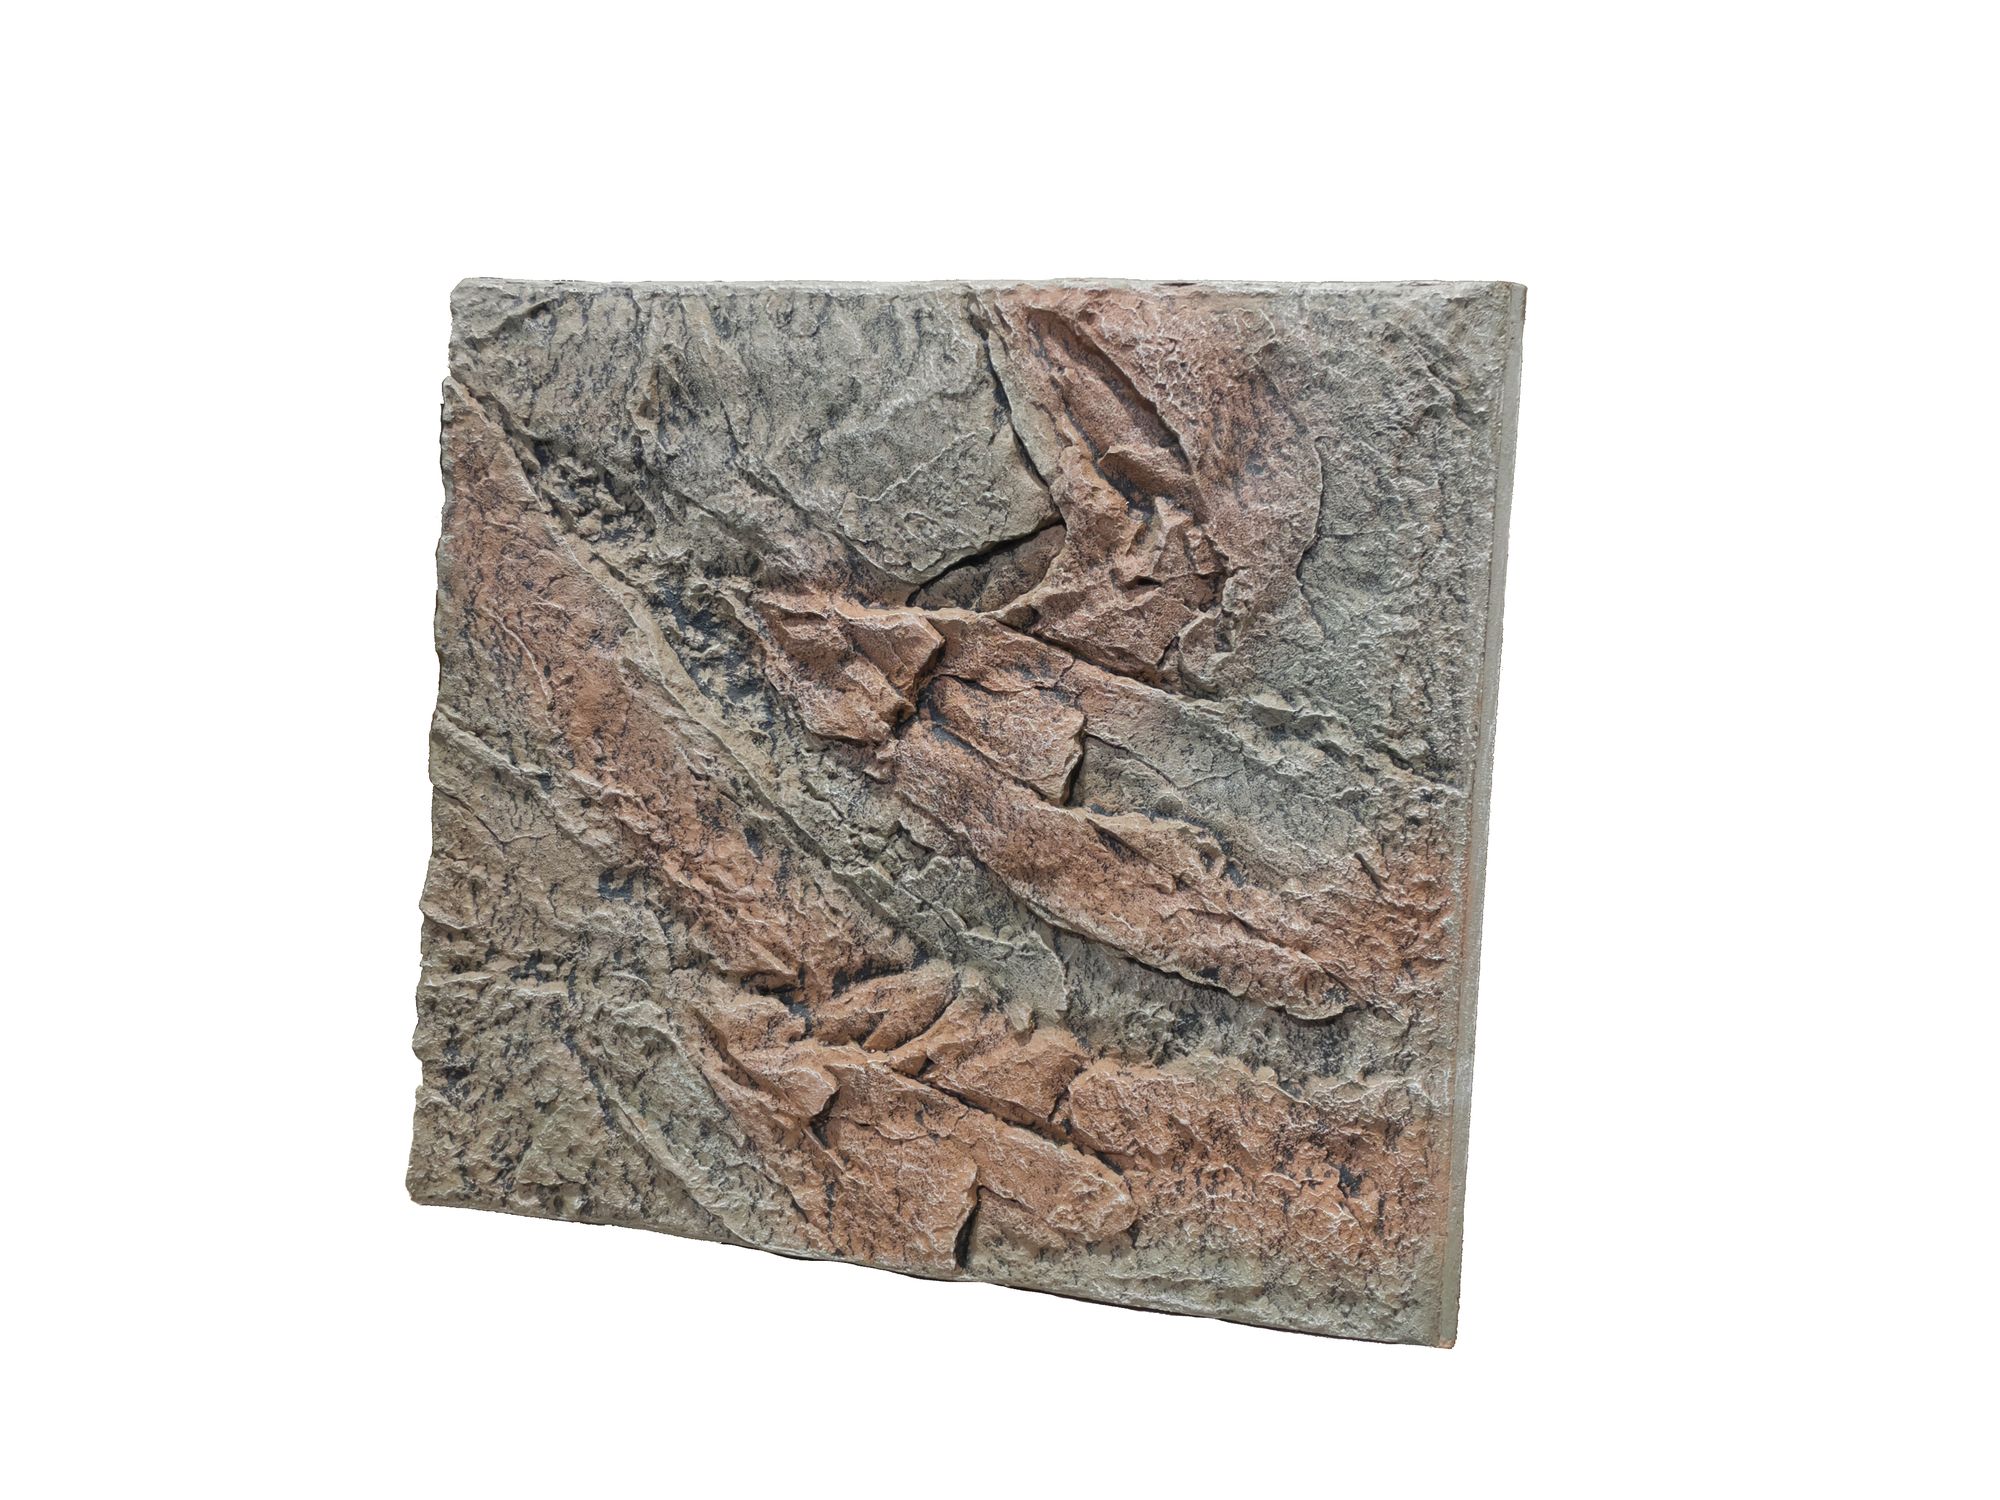
Why choose a 3D aquarium background?
3D aquarium backgrounds are usually chosen for a number of different reasons:
- To create an opaque background. This has the advantage of letting less light into the tank which can be beneficial if you plan to use specific types of plants or fish that prefer darker surroundings.
- To hide aquarium equipment. The advantage of 3D backgrounds in comparison to a 2D background is that you can usually hide cables, filter inlets/outlets or other technical stuff behind a 3D background. This gives a “cleaner” and more natural look and feel to the aquarium.
- To save time. Creating a beautiful aquascapes takes a lot of time, preparation and experience. Choosing a 3D background can be a great way for beginners to get a nice-looking rock background without much hassle.
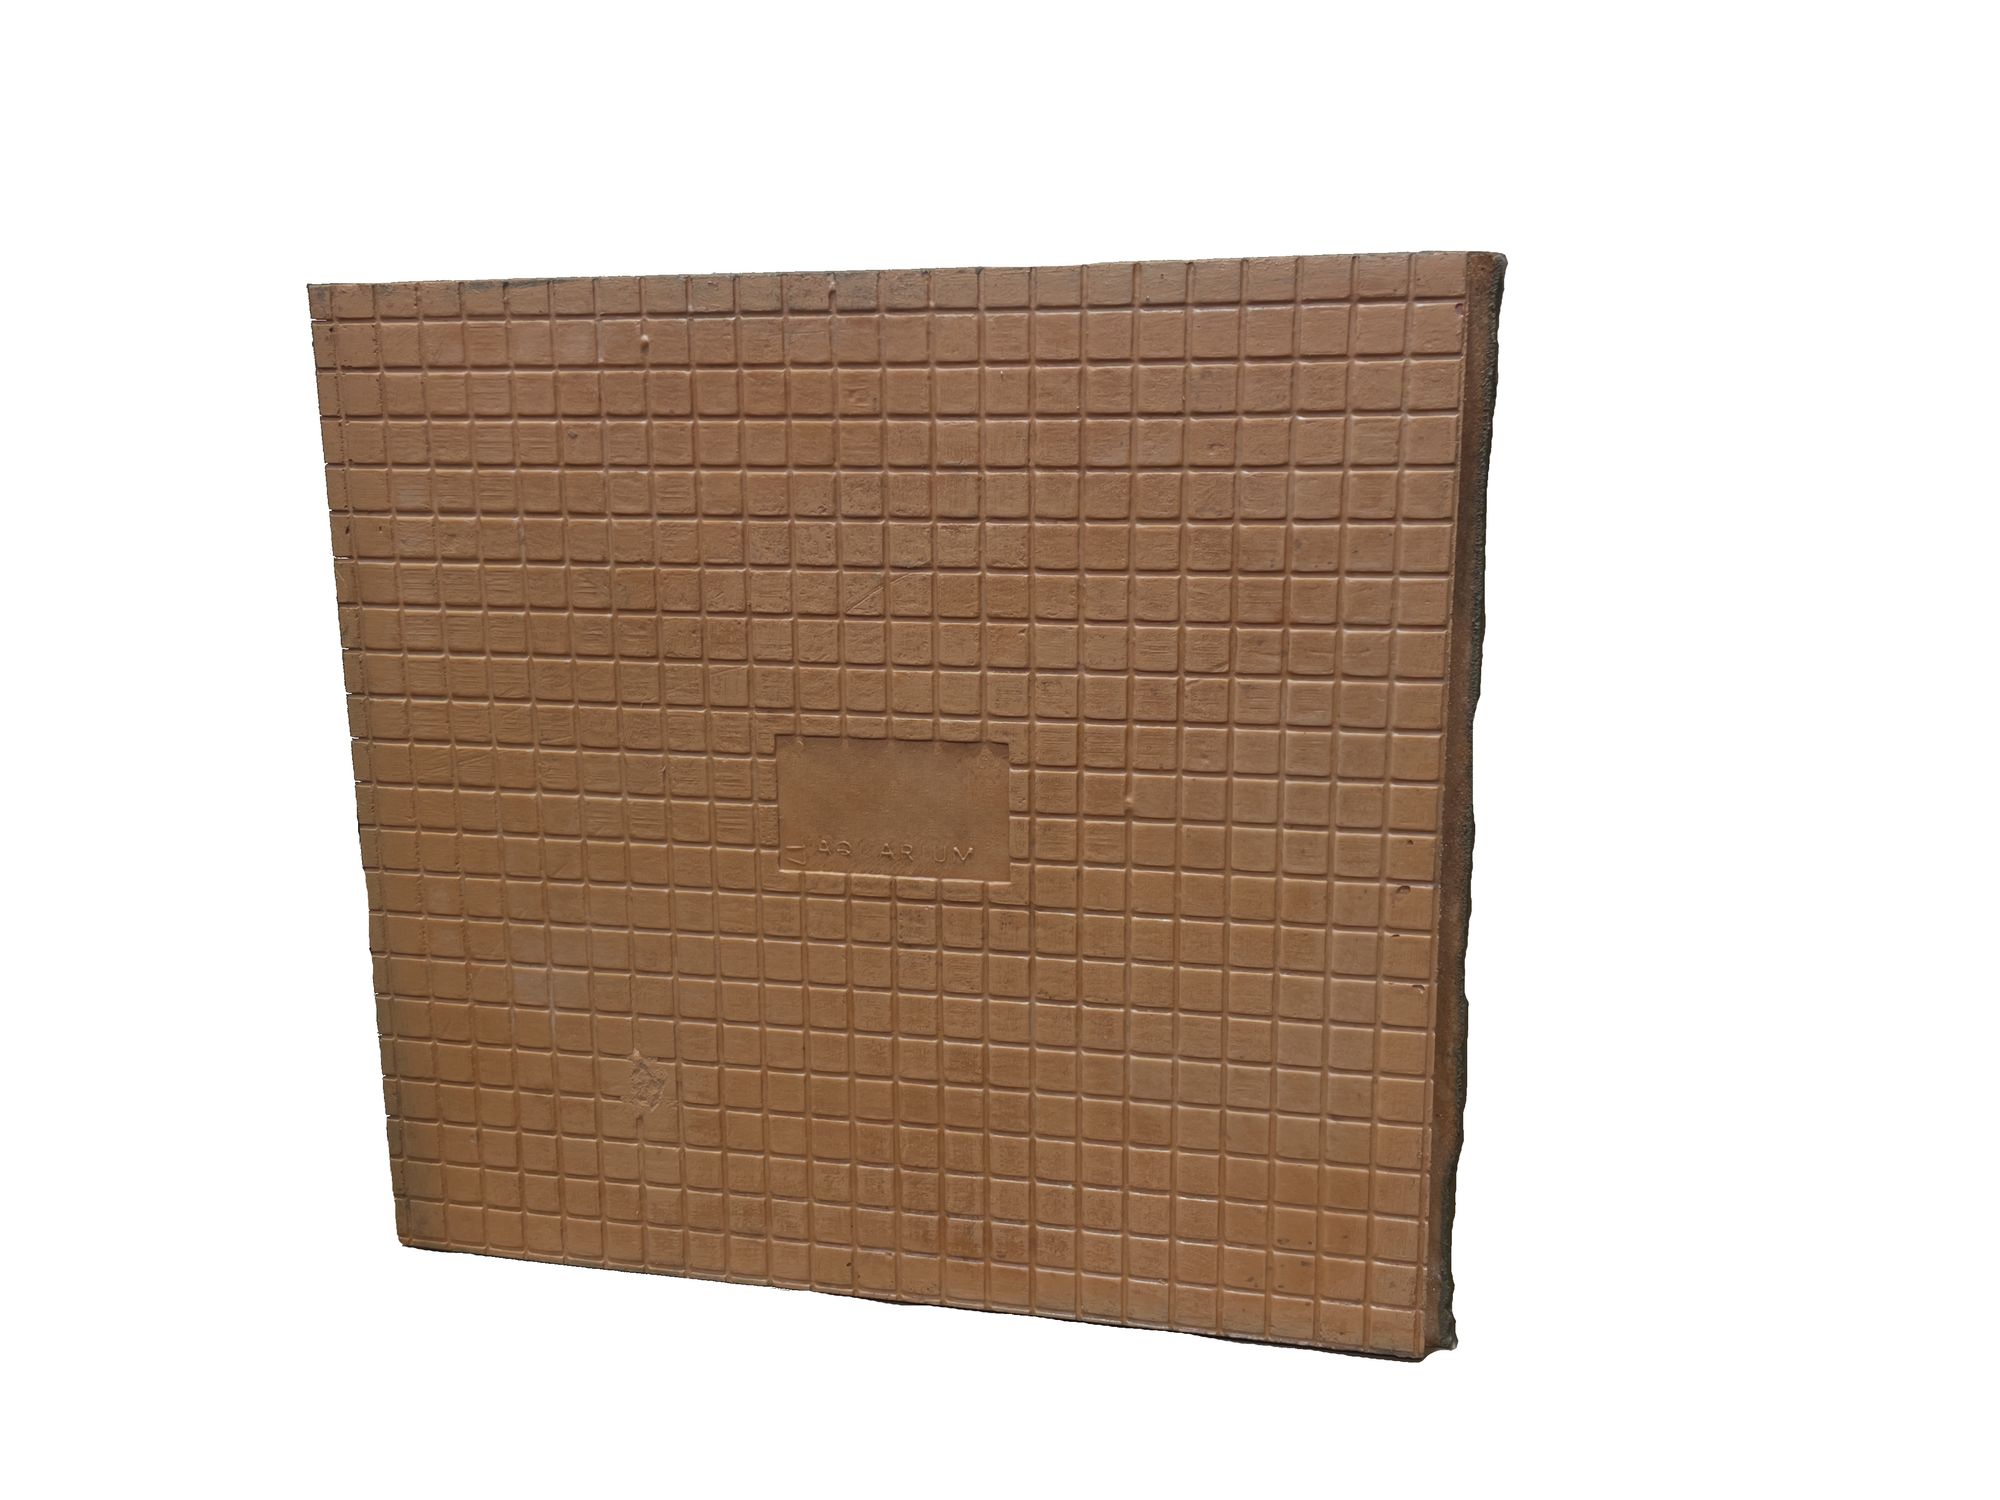
What is the depth of the aquarium background?
3D aquarium backgrounds usually range between 5 and 15+cm in depth. Slim 3D aquarium backgrounds have a minimum depth of 2+ cm. The depth of a 3D aquarium background varies depending on the special structure of each design, so please make sure to check the exact dimensions of the product you’re buying.
It’s also important to keep in mind that the depth of the 3D background will take away from the overall depth and volume of your tank, which can have an effect on how many plants and fish you can responsibly keep in your tank.
How do I add a 3d aquarium background to my aquarium?
It is absolutely recommended to only add a 3D aquarium background to new tanks or established aquariums without live stock. The process could otherwise be disturbing for your animals as it is rather disruptive and can make a lot of mess.
Installation in a new / empty tank:
- After buying your 3D aquarium background, bringing it home and unpacking it, you will most likely have to assemble it from different parts. Please make sure you follow the steps as described by the manufacturer.
- Mounting your 3D background to the back panel of your tank from the inside using either silicon or mounting clips. Some manufacturers recommend one of both methods, so make sure to check the instructions and buy the appropriate material.
- If using silicon: apply silicon to the back side of your background where it will touch the glass and gently press the background to the glass for a minute or two. It is best to let it rest for 24 hours before proceeding.
- If using mounting clips: press the background to the back of your aquarium and attach the mounting clips. You can proceed with the next step immediately.
- Add substrate to the bottom of your tank to additionally secure the background.
Installation in an established tank with livestock: As mentioned previously, we absolutely don’t recommend this method as it puts a lot of pressure on the livestock. But if you still want to proceed with applying a 3D background to an established tank, here is what you should consider:
- Remove all of the livestock from the tank and put it in a different tank or container filled with water. Drain the water in your original tank as much as you can. The less water you have in the tank the less messy it will be.
- Remove hardscape and substrate at the back of the aquarium, so you have a trench which is an inch/ cm bigger than the actual width of the background. Attention: if you still have a fair level of water in the aquarium your water will cloud with dirt, which may limit your view.
- Follow the installation instructions mentioned above (“Installation in a new / empty tank”)
If livestock cannot be removed, proceed as follows:
- Remove the hardscape and substrate at the back so you have a trench which is an inch/ cm bigger than the actual width of the background. Attention: your water will cloud with dirt, so make sure to suck the cloudy water away.
- Drain 50% of the water in the tank (make sure the livestock still has sufficient space).
- Follow the installation instructions mentioned above (“Installation in a new / empty tank”)
- Fill the tank back up with water.
DIY 3D aquarium backgrounds
In case you want to make your own DIY 3D aquarium background you can find plenty of videos and step-by-step instructions on YouTube. All you need is Styrofoam, silicon, cement and sand aggregation.
Make a rough sketch of what the DIY 3d aquarium background should look like on a Styrofoam plate. Then start cutting the required pieces of Styrofoam out of a new plate and glue them to the Styrofoam plate with your sketch using silicon. Please keep in mind that little details will not be visible as the foam will be coated with multiple layers of cement.
After you’re done gluing layer after layer on top of each other, you can start molding the shape of the sketch with a cutter knife.
In the next step you start to mix cement with water until you achieve the right texture. If the mixture is too runny add some more cement and add some water if it is too cloggy. After the mixture is finished take a brush and cover the Styrofoam with the cement / water mixture and let it dry (keeping your work in a warm and dry room will speed up the process).
The second layer will also receive a cement / water mixture, but this time we add sand aggregate to give it more texture. Let it dry. We recommend at least 2 layer of this sand / cement / water mixture.
After finishing the DIY 3D aquarium background, you need to water it. It’s best to do this in a water-filled, but otherwise empty aquarium for several weeks until the DIY 3D aquarium background doesn’t change your PH-value (the cement is calcareous and pollutions the water).