Japanese Rice Fish (Medaka) are a popular fish species among aquarium enthusiasts. They are generally relatively easy to breed and raise if you know what you're doing. But there is very little guidance out there on the necessary steps for successful Medaka breeding, hatching and raising. In this article, we will show you how you can hatch your Medaka eggs and raise the fry. If you have questions about breeding, you can check out the corresponding section in our overview article on Japanese Rice Fish.
Material list
- Medaka eggs (either bought from a breeder or collected from your own aquarium)
- methylene blue
- syringe 1ml.
- tweezers
- disposable gloves
- 2 jars with a lid
- paper towels
- Sterile alcohol prep pads
Steps to hatching Medaka eggs
 Medaka eggs, methylene blue, syringe, paper towel, tweezer, jar and disposable gloves
First, you need to add some fresh and unchlorinated water to the first jar. Ten, use your syringe to pick up one drop of methylene blue per 250 ml / 8.5 ounces of water and empty the syringe into the jar. The water should now be visibly light blue. It is best to use a jar that can hold at least a cup of water, so that you don't have to fiddle around too much with the methylene blue. A smaller container is also generally suitable, just make sure it is big enough so the eggs don't stick together.
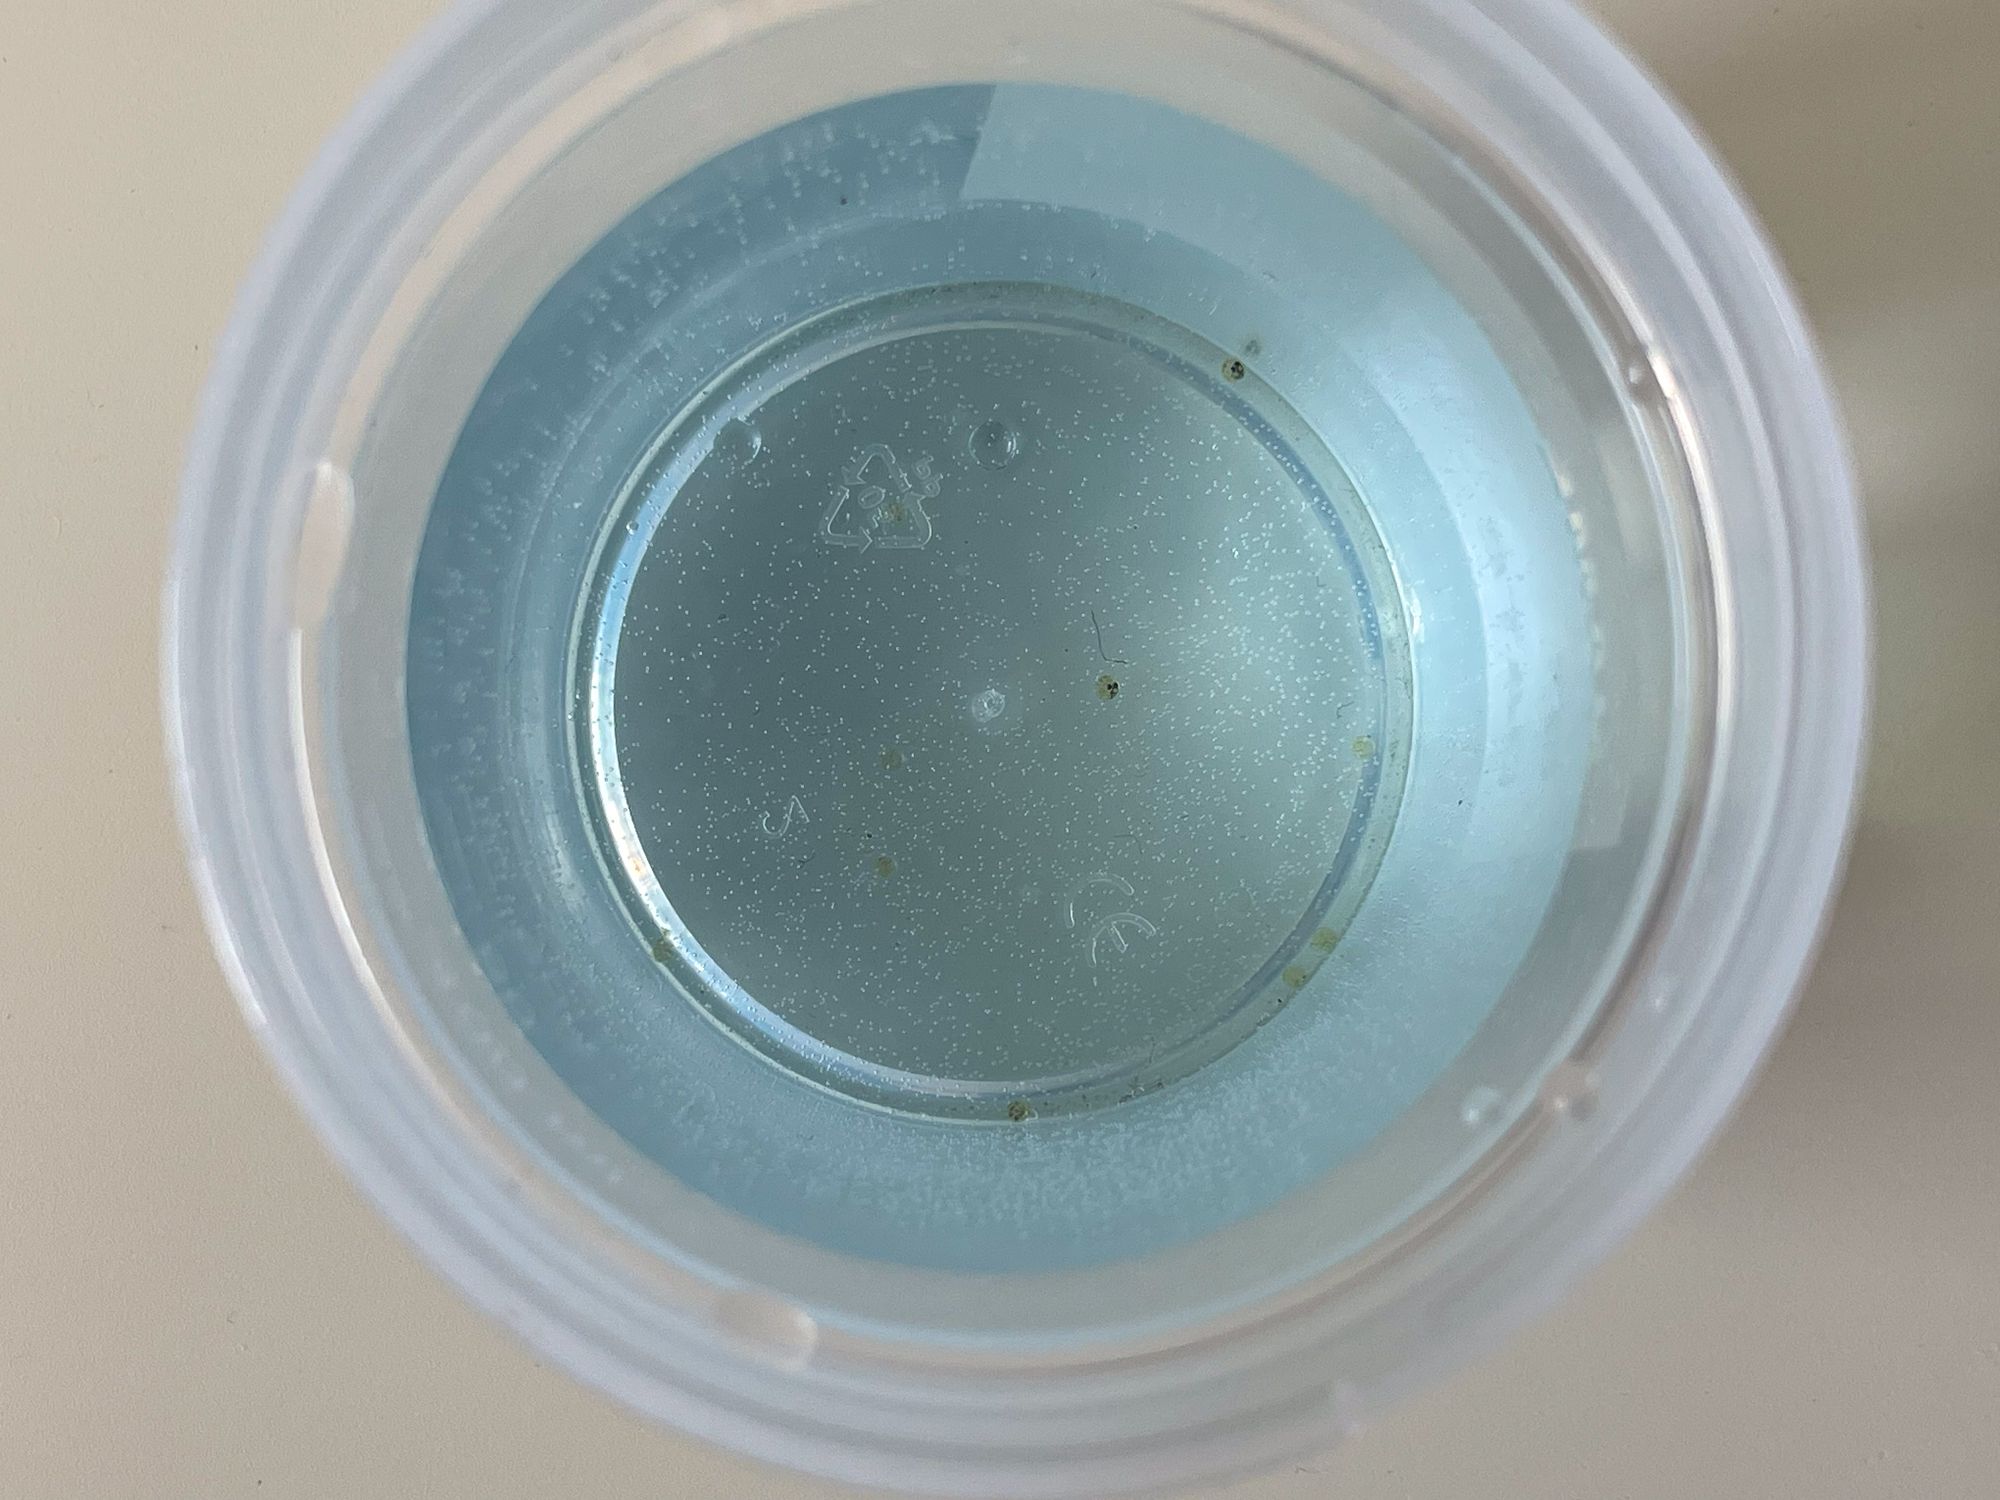 Cup with Medaka eggs and water mixed with methylene blue
Before picking up the Medaka eggs, make sure to sanitize and disinfect your tweezer with the sterile alcohol prep pads and put on your disposable gloves. Do not touch the Medaka eggs with your bare hands as the bacteria will populate on the eggs resulting in them most likely not hatching.
Get a double paper towel and empty the container holding the Medaka eggs onto the paper towel. The excess water from the container should be sucked up by the paper towel and the Medaka eggs should be visible. Make sure that there are no eggs left in the container.
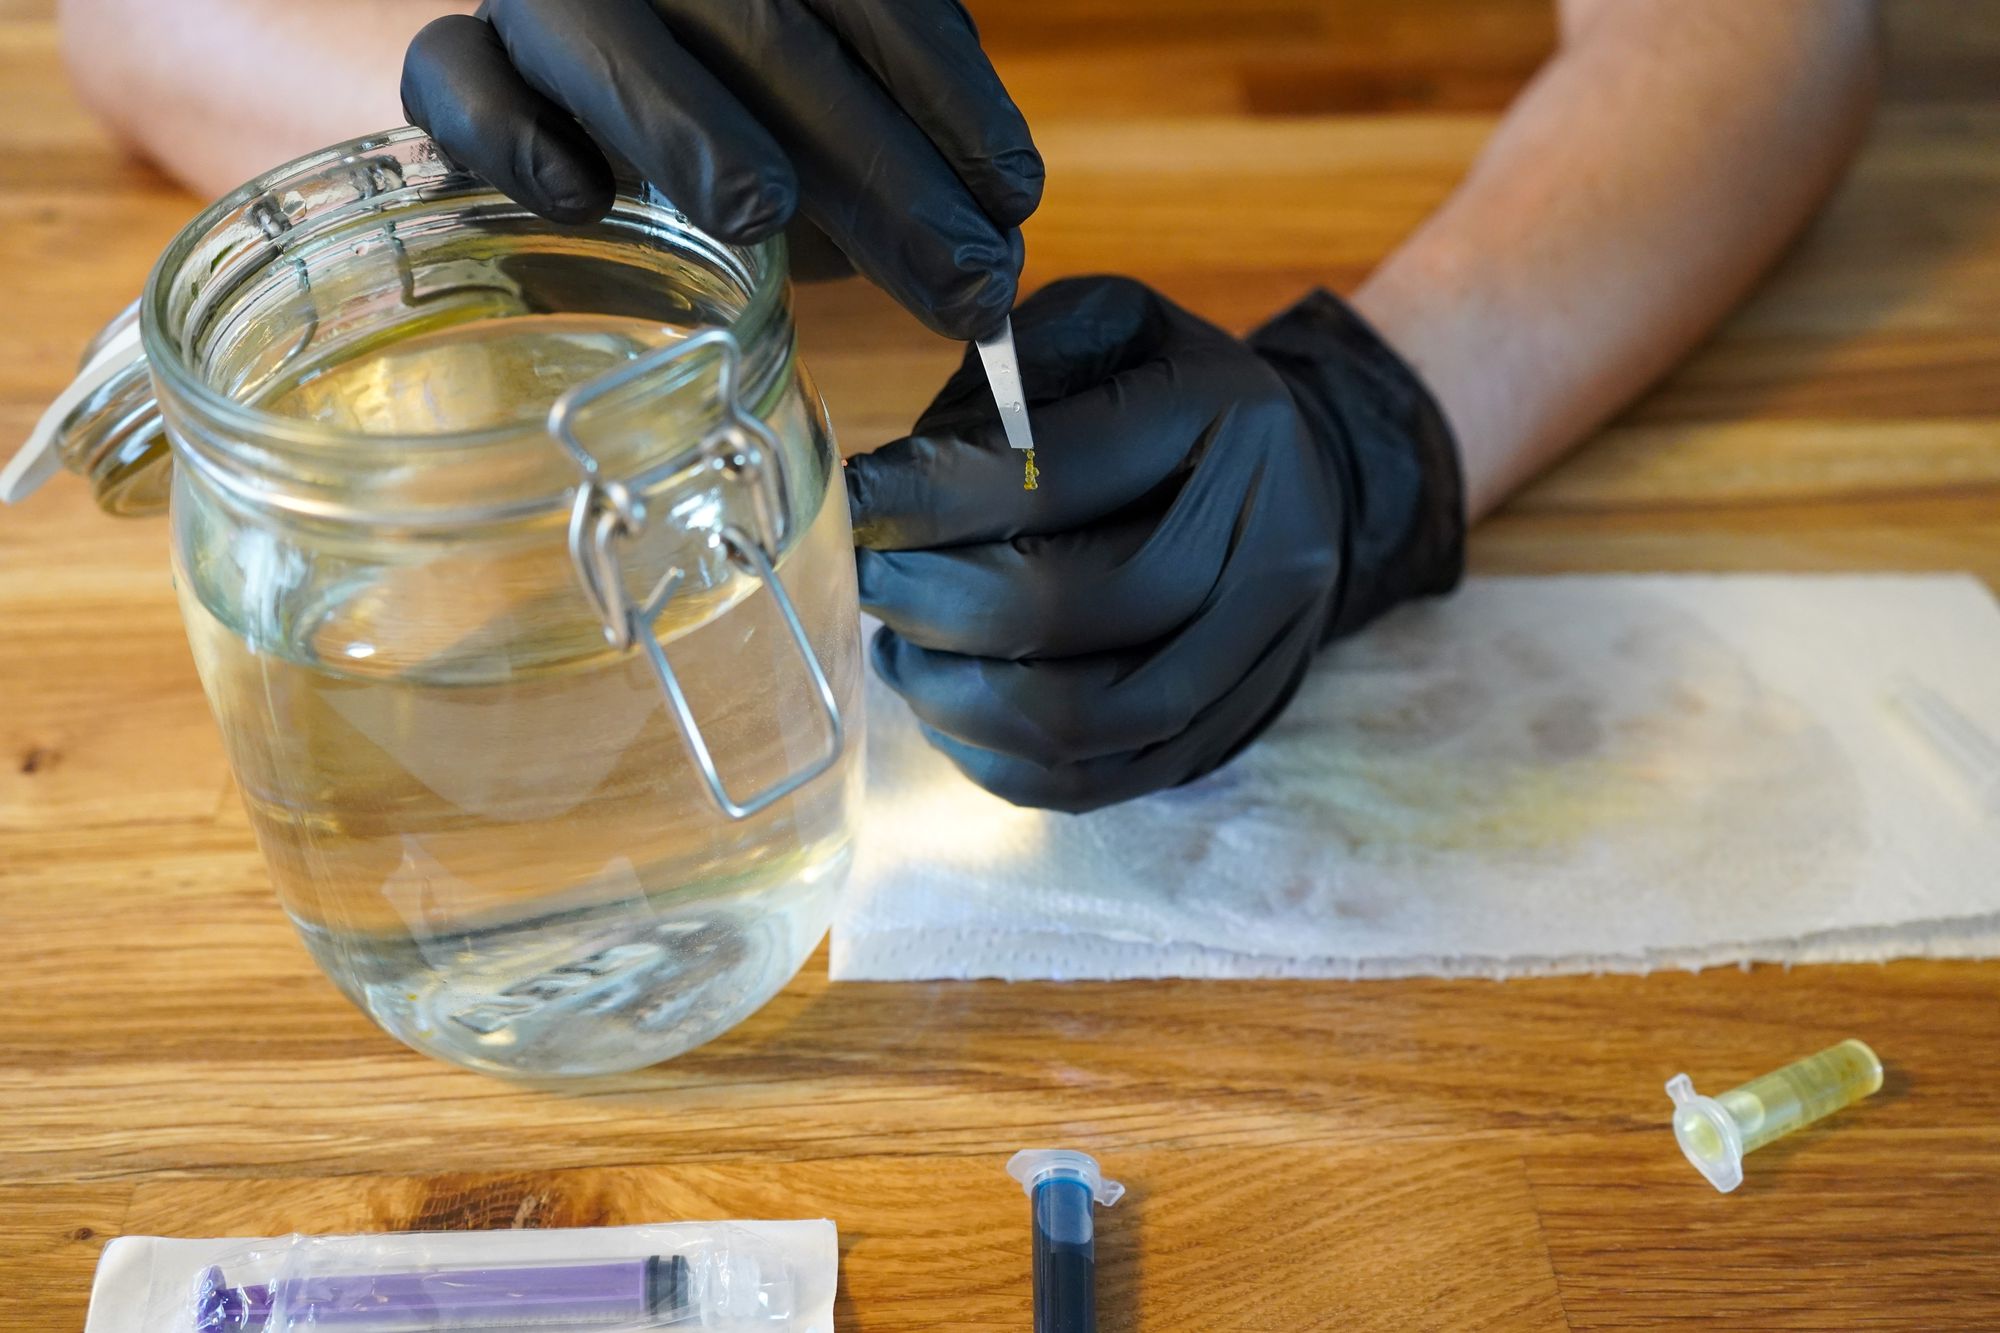
 Pouring the Medeka eggs onto the paper towel
Now you can take your sanitized and disinfected tweezers and pick up each egg individually. Make sure to only use very light pressure when doing so. In case the egg bursts under the light pressure, it was not meant to hatch in the first place.
Please note, that the eggs tend to stick together via an adhesive thread. If this is the case, pick up the egg clump and place it on the soaking wet paper towel or your glove.
 Medaka egg clump sticking together
Then, go in-between the eggs with your tweezers closed and open them gently to force the eggs to separate from the adhesive thread and each other. We also used a soaking wet part of the paper cloth to hold down the eggs clump.
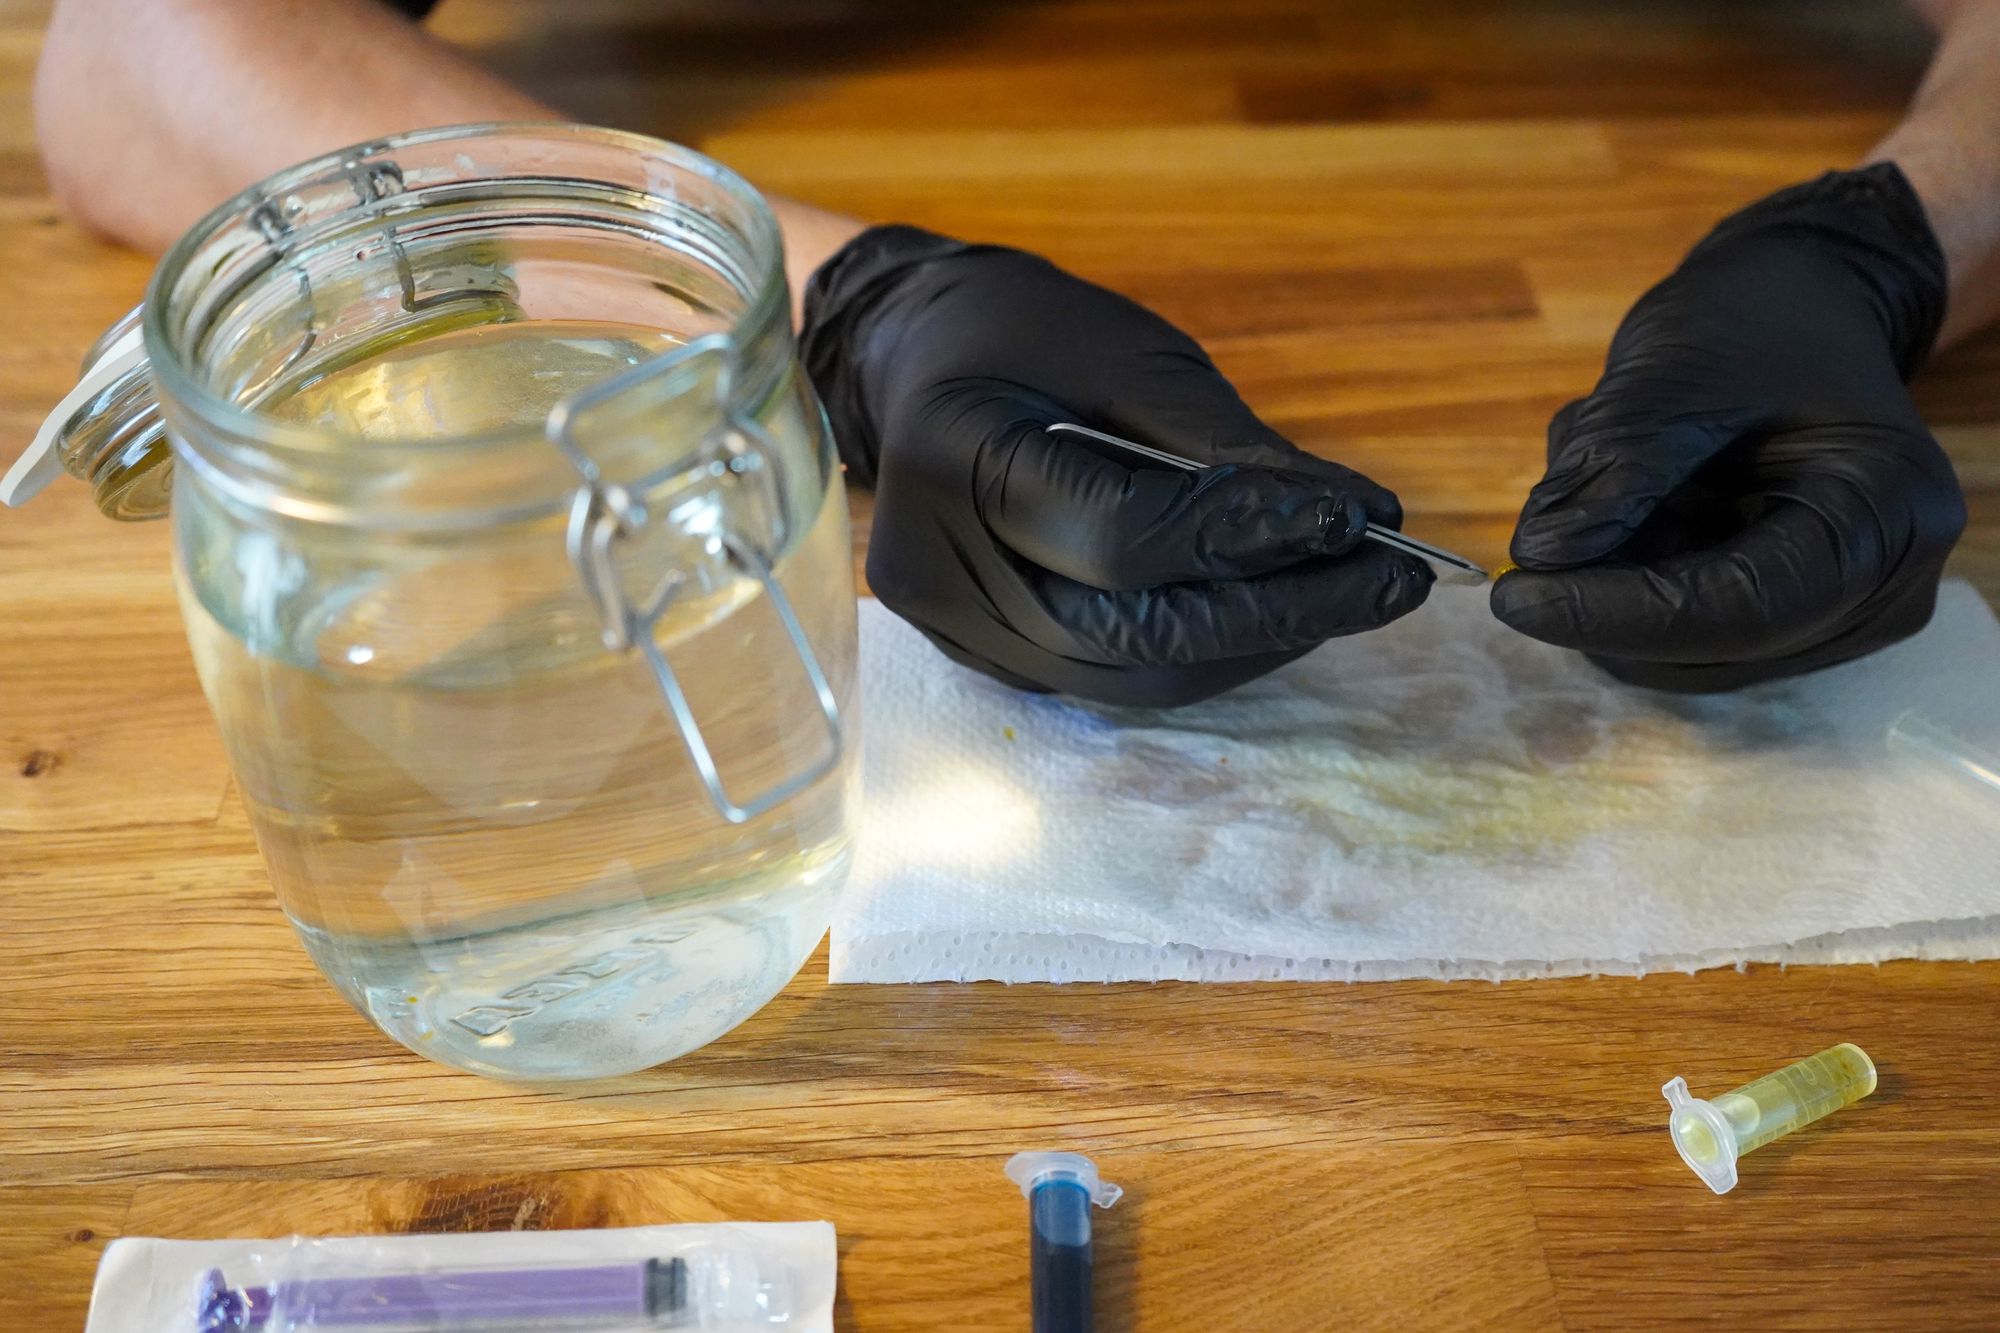 Separating the Medaka eggs from the adhesive thread
As soon as you have one egg on or between the tweezers, dip the tweezer in to the cup with methylene blue water. The egg should sink to the ground - if it doesn't, it will most likely not hatch.
 Single Medaka egg between tweezers
If the egg is white or fuzzy it needs to be removed as it is most likely infected by fungus which will spread and infest the other healthy eggs.
Healthy eggs are transparent or yellow. If you see a black dot, these are the eyes of the hatchling.
Repeat the process until no eggs are left and all are separated.
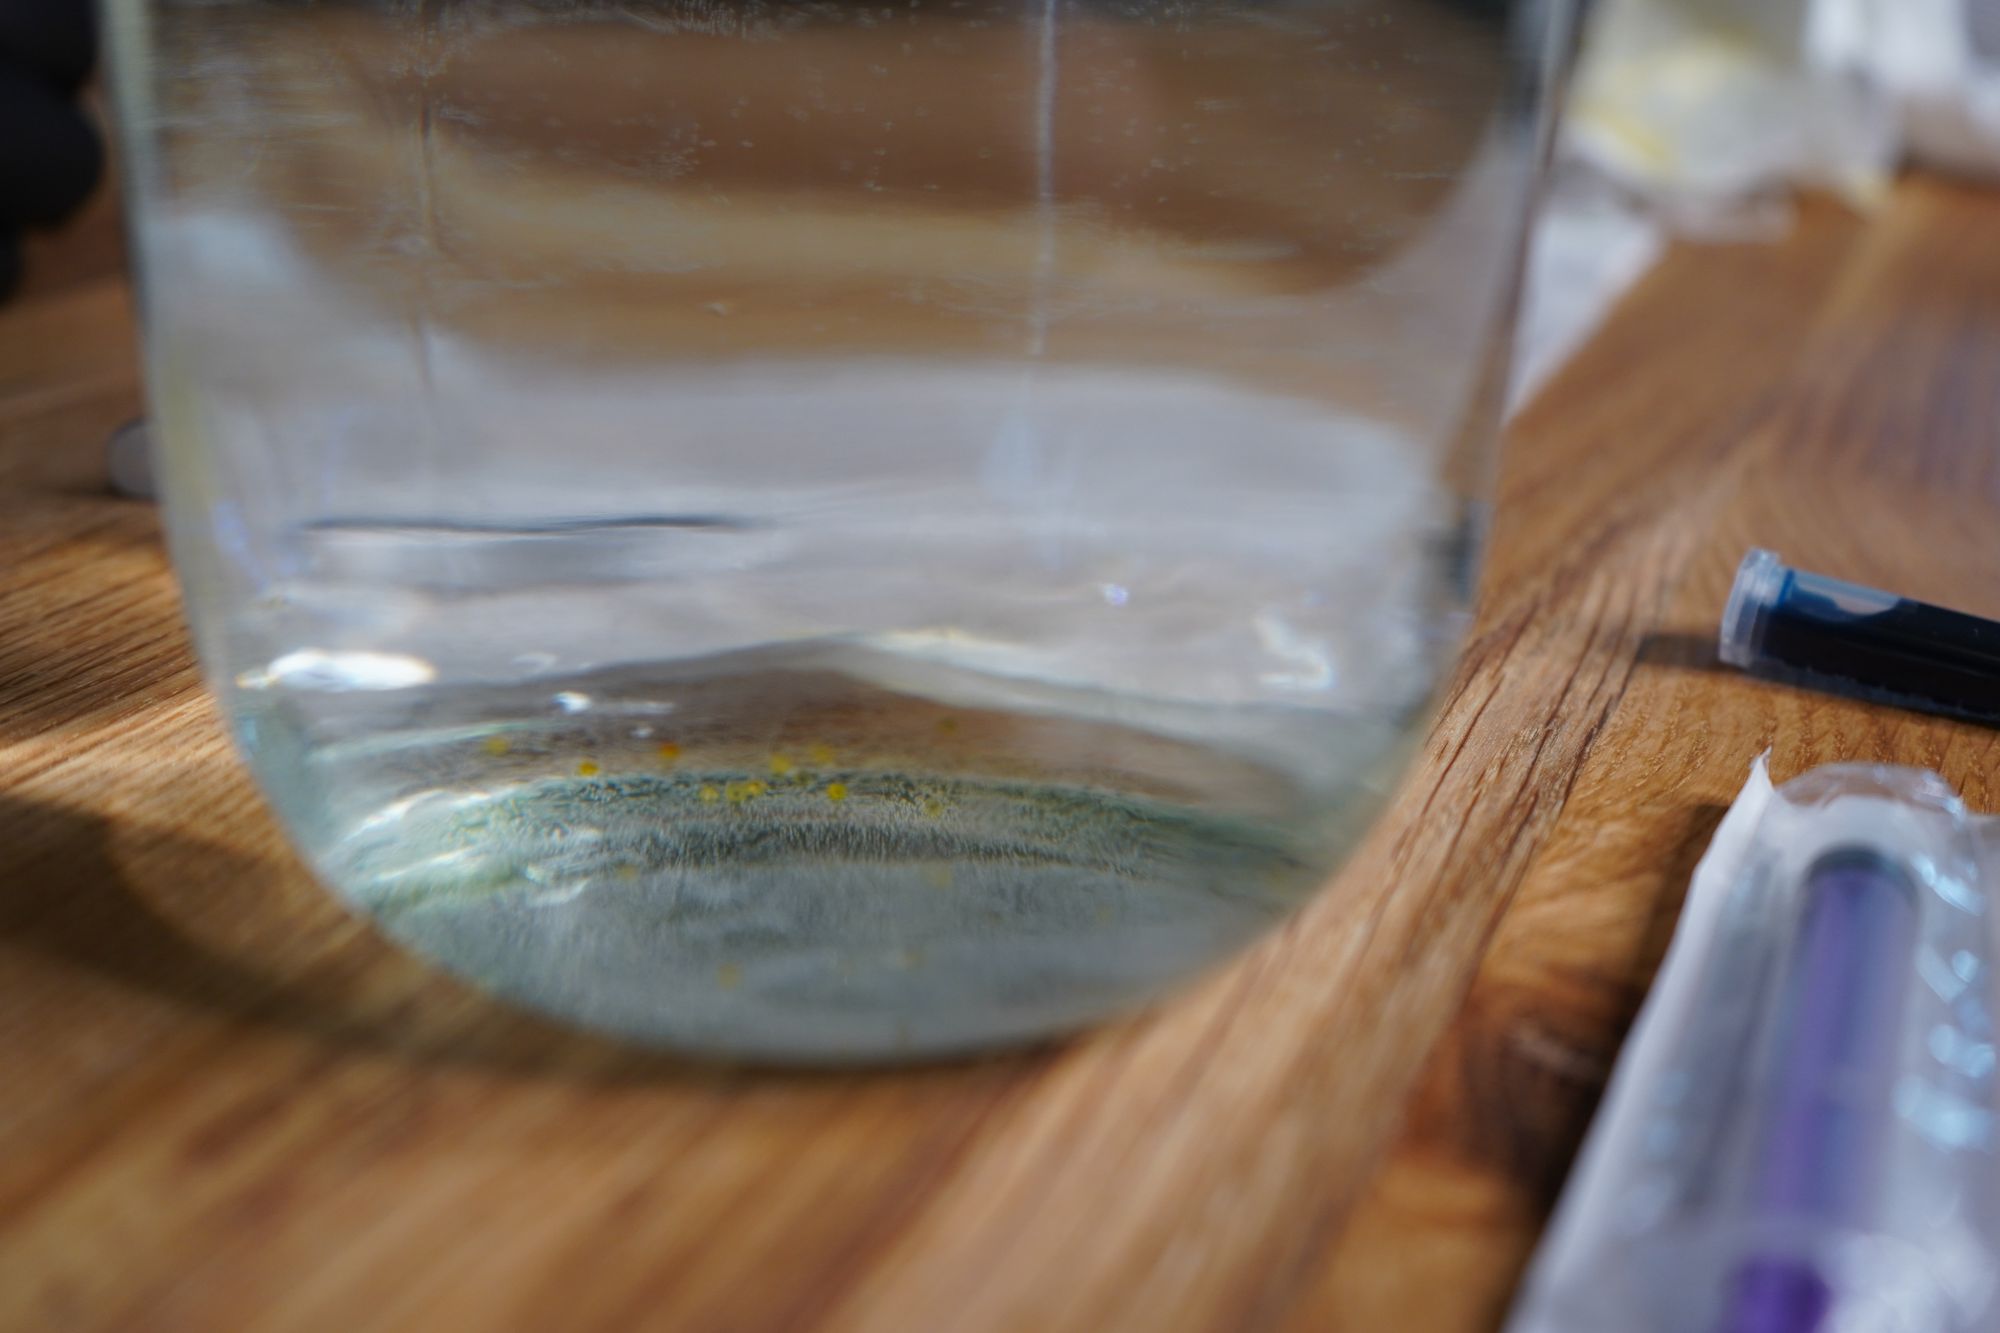 All eggs separated in the jar.
Now you need to find a shady space in your apartment with a constant room temperature. Make sure the Medaka are not placed in any air drafts or direct sunlight. Due to the small amount of water, cool air drafts and direct sunlight can have a big impact on the water temperature.
Now, you don' really need to do anything else but wait. If you notice the eggs sticking together again, you can give the water a gentle stir with a small spoon. It will take up to 6 - 10 days until the eggs hatch, depending on when they were fertilized.
Raising Medaka Fry
In order to prepare for your Medaka eggs hatching, you can set up a second jar or aquarium for raising the fry. By doing so, you can quickly transfer the fry once they hatch and be sure that the water in the new raising jar has the same temperature as in the hatching jar.
Freshly hatched Medaka fry are very fragile and prone to starvation. They need to be fed immediately after hatching, as the joke sack is already used up.
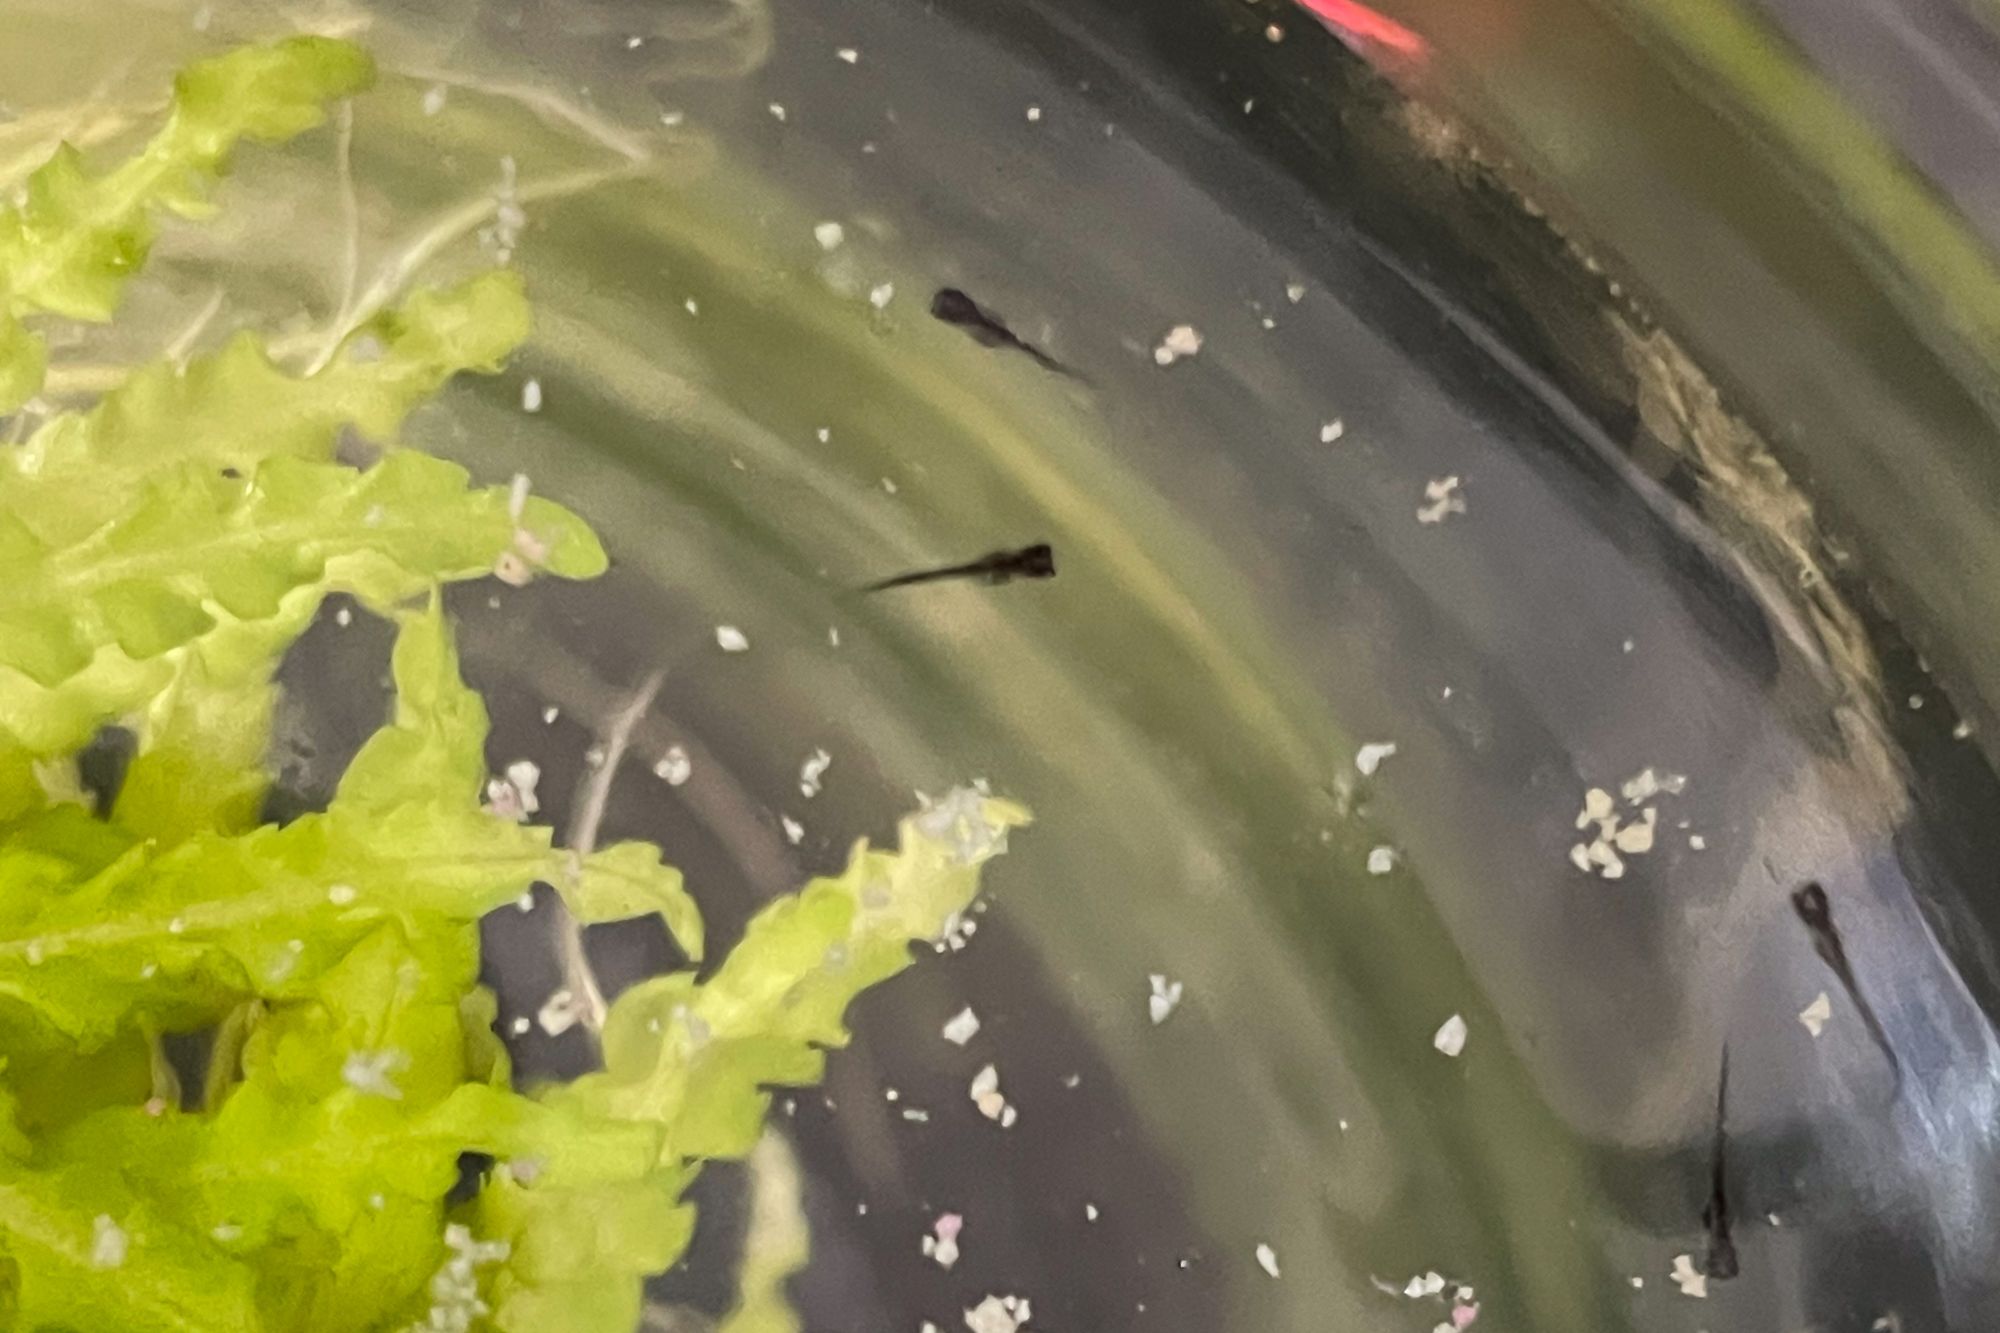 Freshly hatched Medaka fry in the raising jar with food and a plant
Do not place any food in the hatching jar. Relocate hatched Medaka Fray to the raising jar/aquarium immediately and then feed them there.
In case you still have eggs that have not hatched, it is best to replace the water in the hatching jar. The newly hatched Medaka fry release enzymes, helping to break/ puncture the egg. Those enzymes can damage the shell of the unhatched eggs, resulting in them not hatching.
When it comes to food, we feed out Medaka fry with sera ImmunPro Mini Nature. We take a pinch between our fingers and grind it into the water. By doing so, the fish food is like powder/dust and easy to eat for the fry. Fry will not dive for their food and only eat floating food. Due to this and their tiny size, the food has to be very small so that it can both float on the water surface and fit into their mouths. It is best to feed the fry 2-3 times a day, but make sure not too put to much food in there.
In the raising jar, we recommend to not use any filter at all. In case a filter is a must, please use a sponge filter. Medaka fry are weak swimmers and quickly exhausted. Using anything but a sponge filter will result in the fry being sucked into the filter and dying most likely.
Some Medaka fry grow quicker then others. As soon as a Medaka is 1/2 to 3/4 inch in size, it is best to relocate it to a bigger aquarium, otherwise it might eat smaller fry in the original aquarium.