If you plan to use wood in your aquascape you cannot simply put it in your tank without preparation. If you do so and fill up the tank with water, the wood will most likely start floating and potentially even take other parts of the scape with it.
Once this has happened it is very hard to fix, so avoid making the mistakes we made in the beginning of our aquascaping career.
Considerations
First, you need to make sure to only use dried wood in your aquarium build instead of freshly chopped twigs or tree branches. This has to do with the sap of the tree, which would be toxic for the aquatic animals in your tank. Once the wood is dried, the sap has also dried out and isn't dangerous anymore.
If you are new to the hobby, we recommend to buy wood from a local or online fish store to make sure it is aquarium safe. You can look for keywords like aquarium wood, scaping root or driftwood to find the right wood for your needs.
Preparation
Preparing the wood for an aquarium can be done in two ways:
1.) using dry wood and fixating it to the bottom with silicon, glue or rocks so it doesn't float or 2.) pre-soak the dry wood for about a week, so it doesn't float
Before using either method it is best to first rinse off the wood under running water to remove any dirt, which could later cloud your water - but you can also skip this step
Dry wood
It is perfectly fine to use dry wood in your aquascape. This method lets you get started more quickly and takes away the hassle of pre-soaking the wood and blocking the bathtub or another container for a week.
The downside of this method is that it's a bit more trickier to work with dry wood compared to using soaked wood. Dry wood needs to be fixated either to an aquarium panel or something heavy to keep it from floating.
Beginners and more experienced aquatic enthusiasts often experience dry wood floating in the tank, due to insufficient fixation.
In order to fixate the wood to the aquarium panels or rocks, you can use silicon (needs to dry for at least 24 hours), superglue in combination with cotton or cable ties.
Make sure the glue or silicon has completely dried before filling the tank. You can also try to carefully lift the wood to test its properly attached and only then proceed to pour water into the aquarium.
Pre-soaked wood
In case you don't want to fixate you wood to the aquarium glass or something heavy, it is best to pre-soak it.
Depending on the size of the wood, this can either be done in a container, tub or bathtub.
Please note, when pre-soaking wood, it will take at least a week of time to be properly soaked and not float anymore.
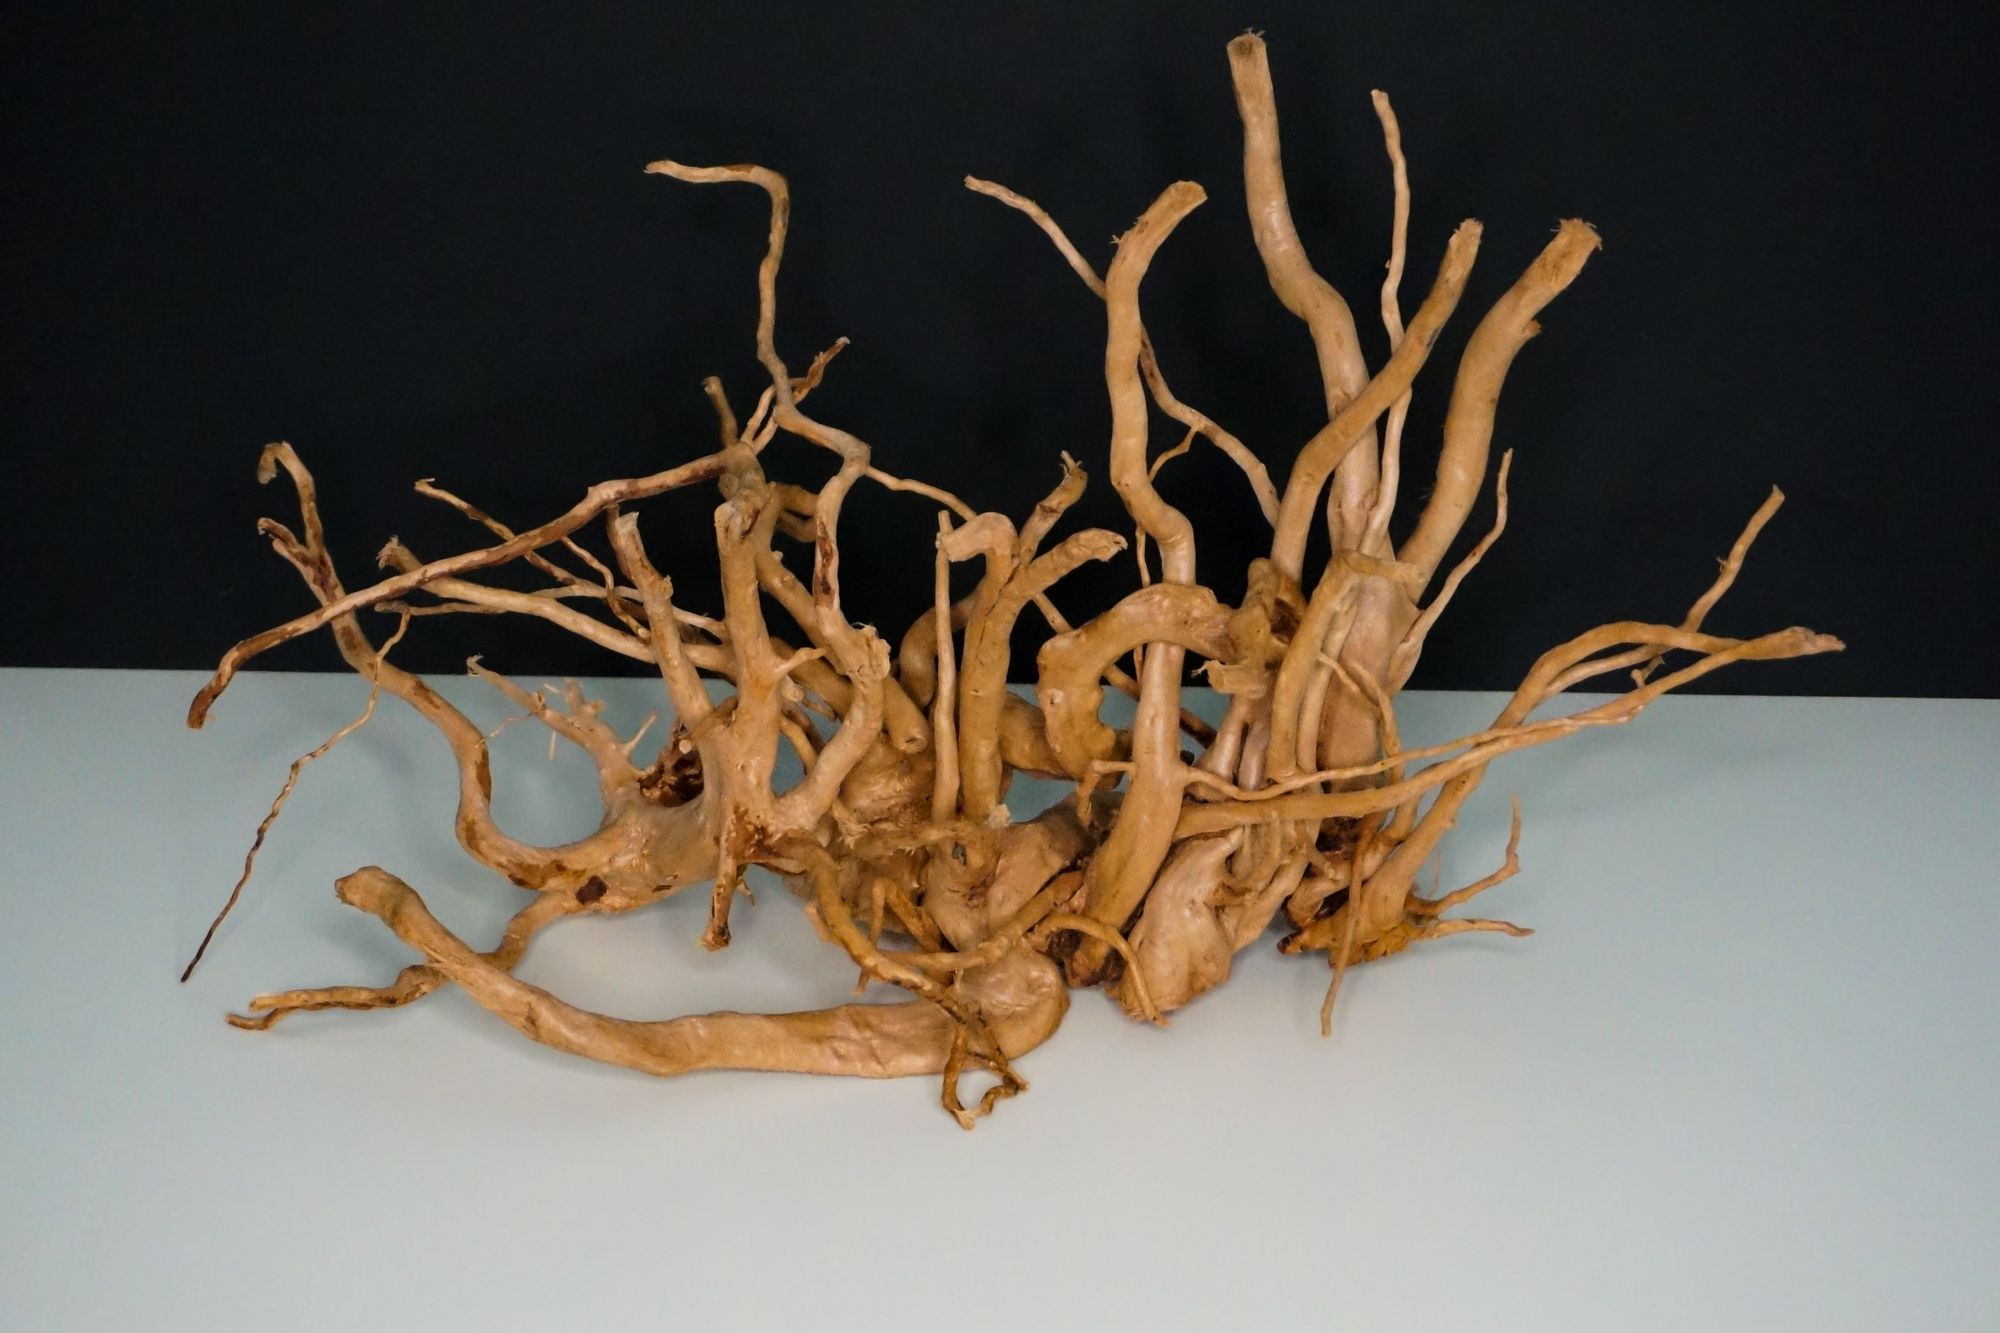 Three pieces of spider-/fingerwood before being pre-soaked
The pieces in the picture above where too big for a container and the aquarium tank was not available. So, the wood was pre-soaked in the bathtub and weighted down with big chunks of rock. Make sure the rocks are placed safely on the wood, neither damaging the wood nor the bathtub.
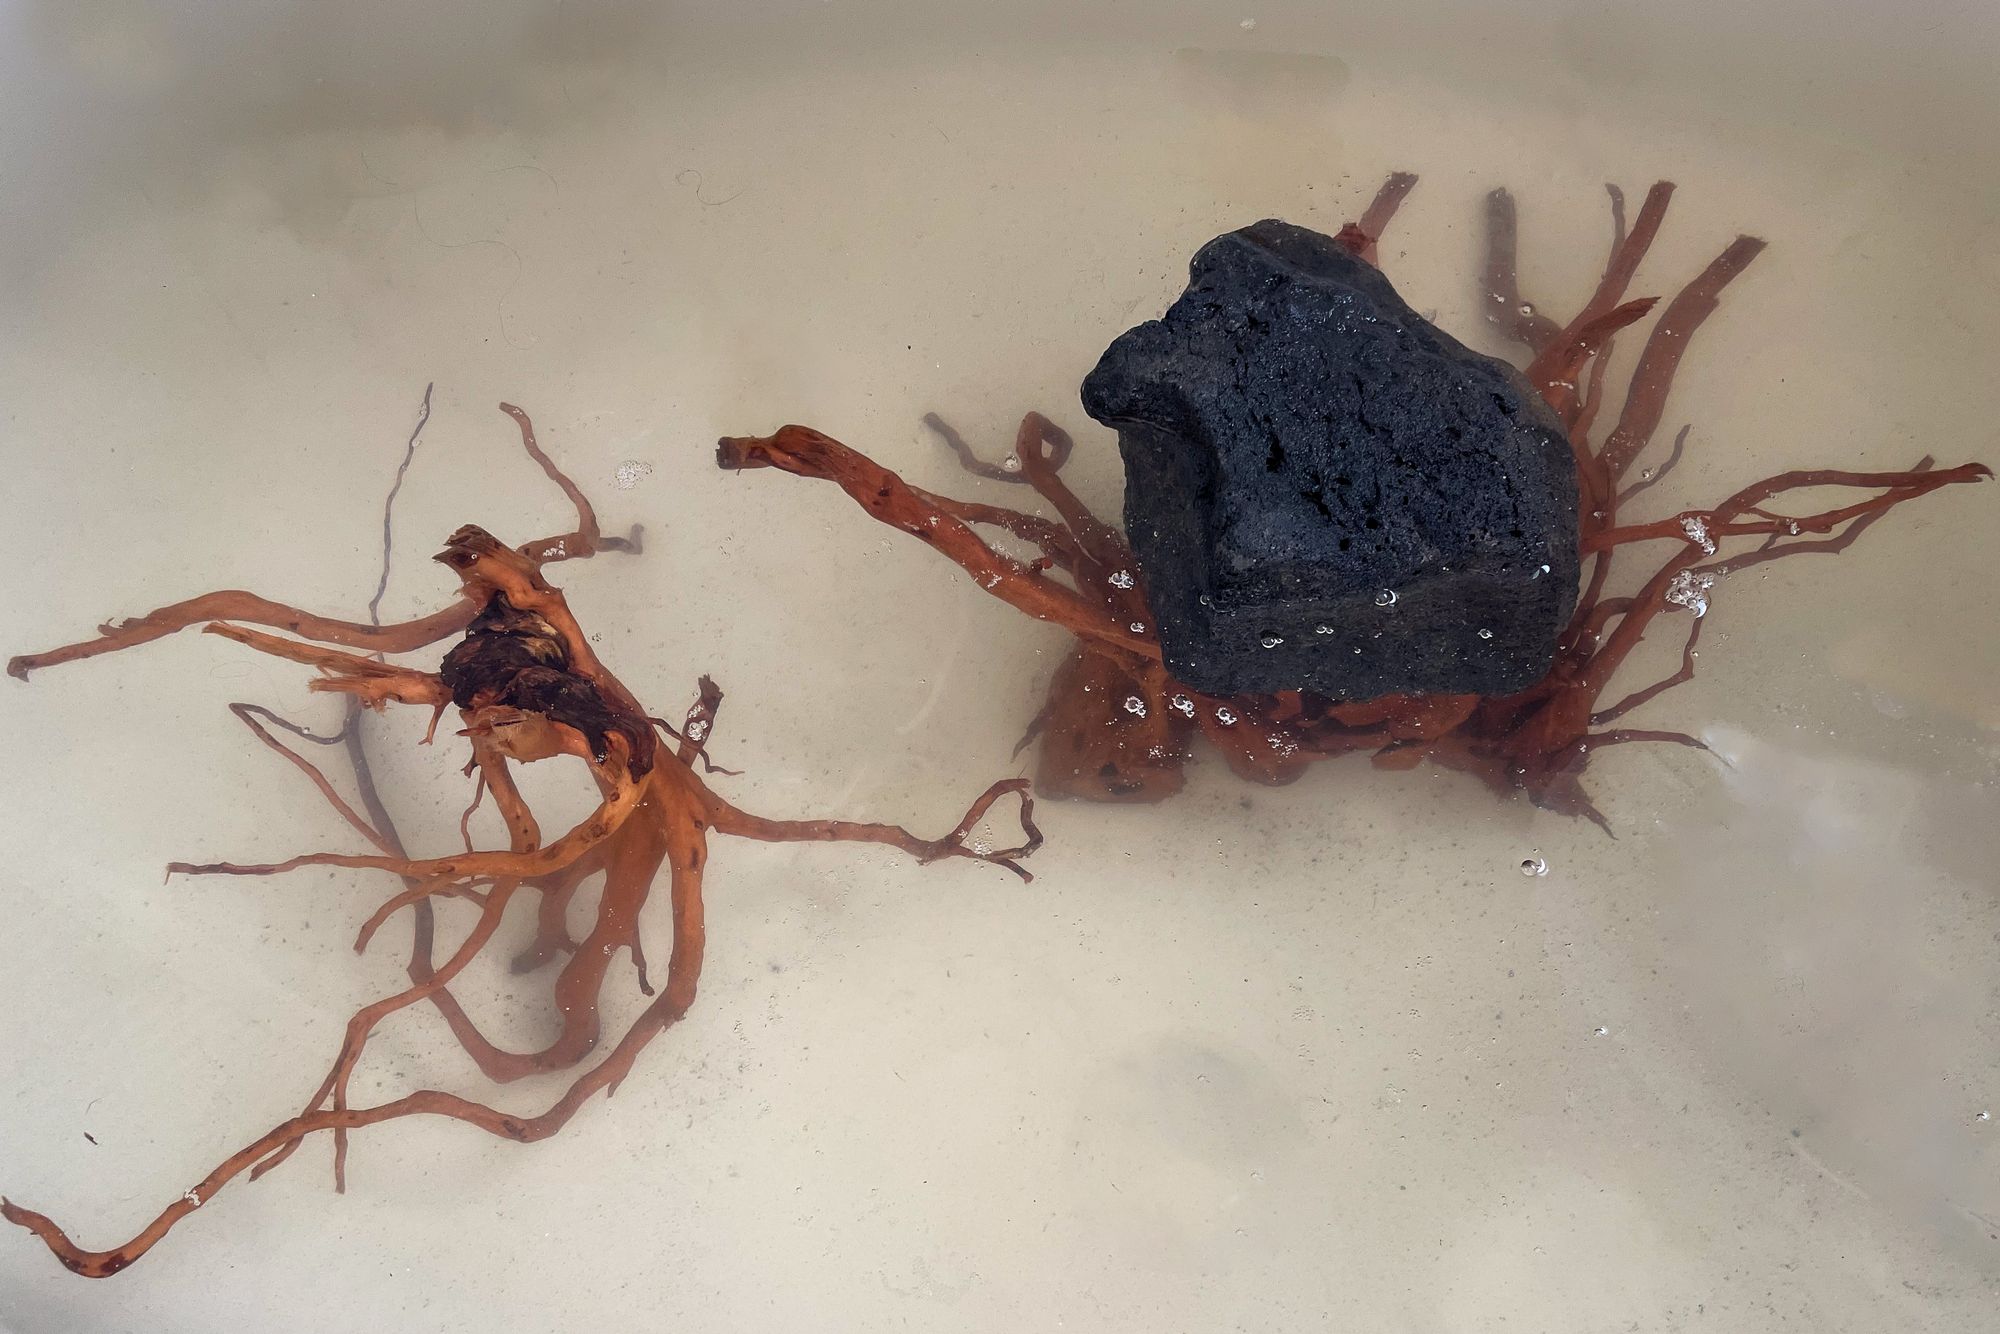 Spider-/ finger wood weighted down with black lava rock
After 2 days of soaking the wood, the water in the bathtub changed from clear to mucky, slimy brown.
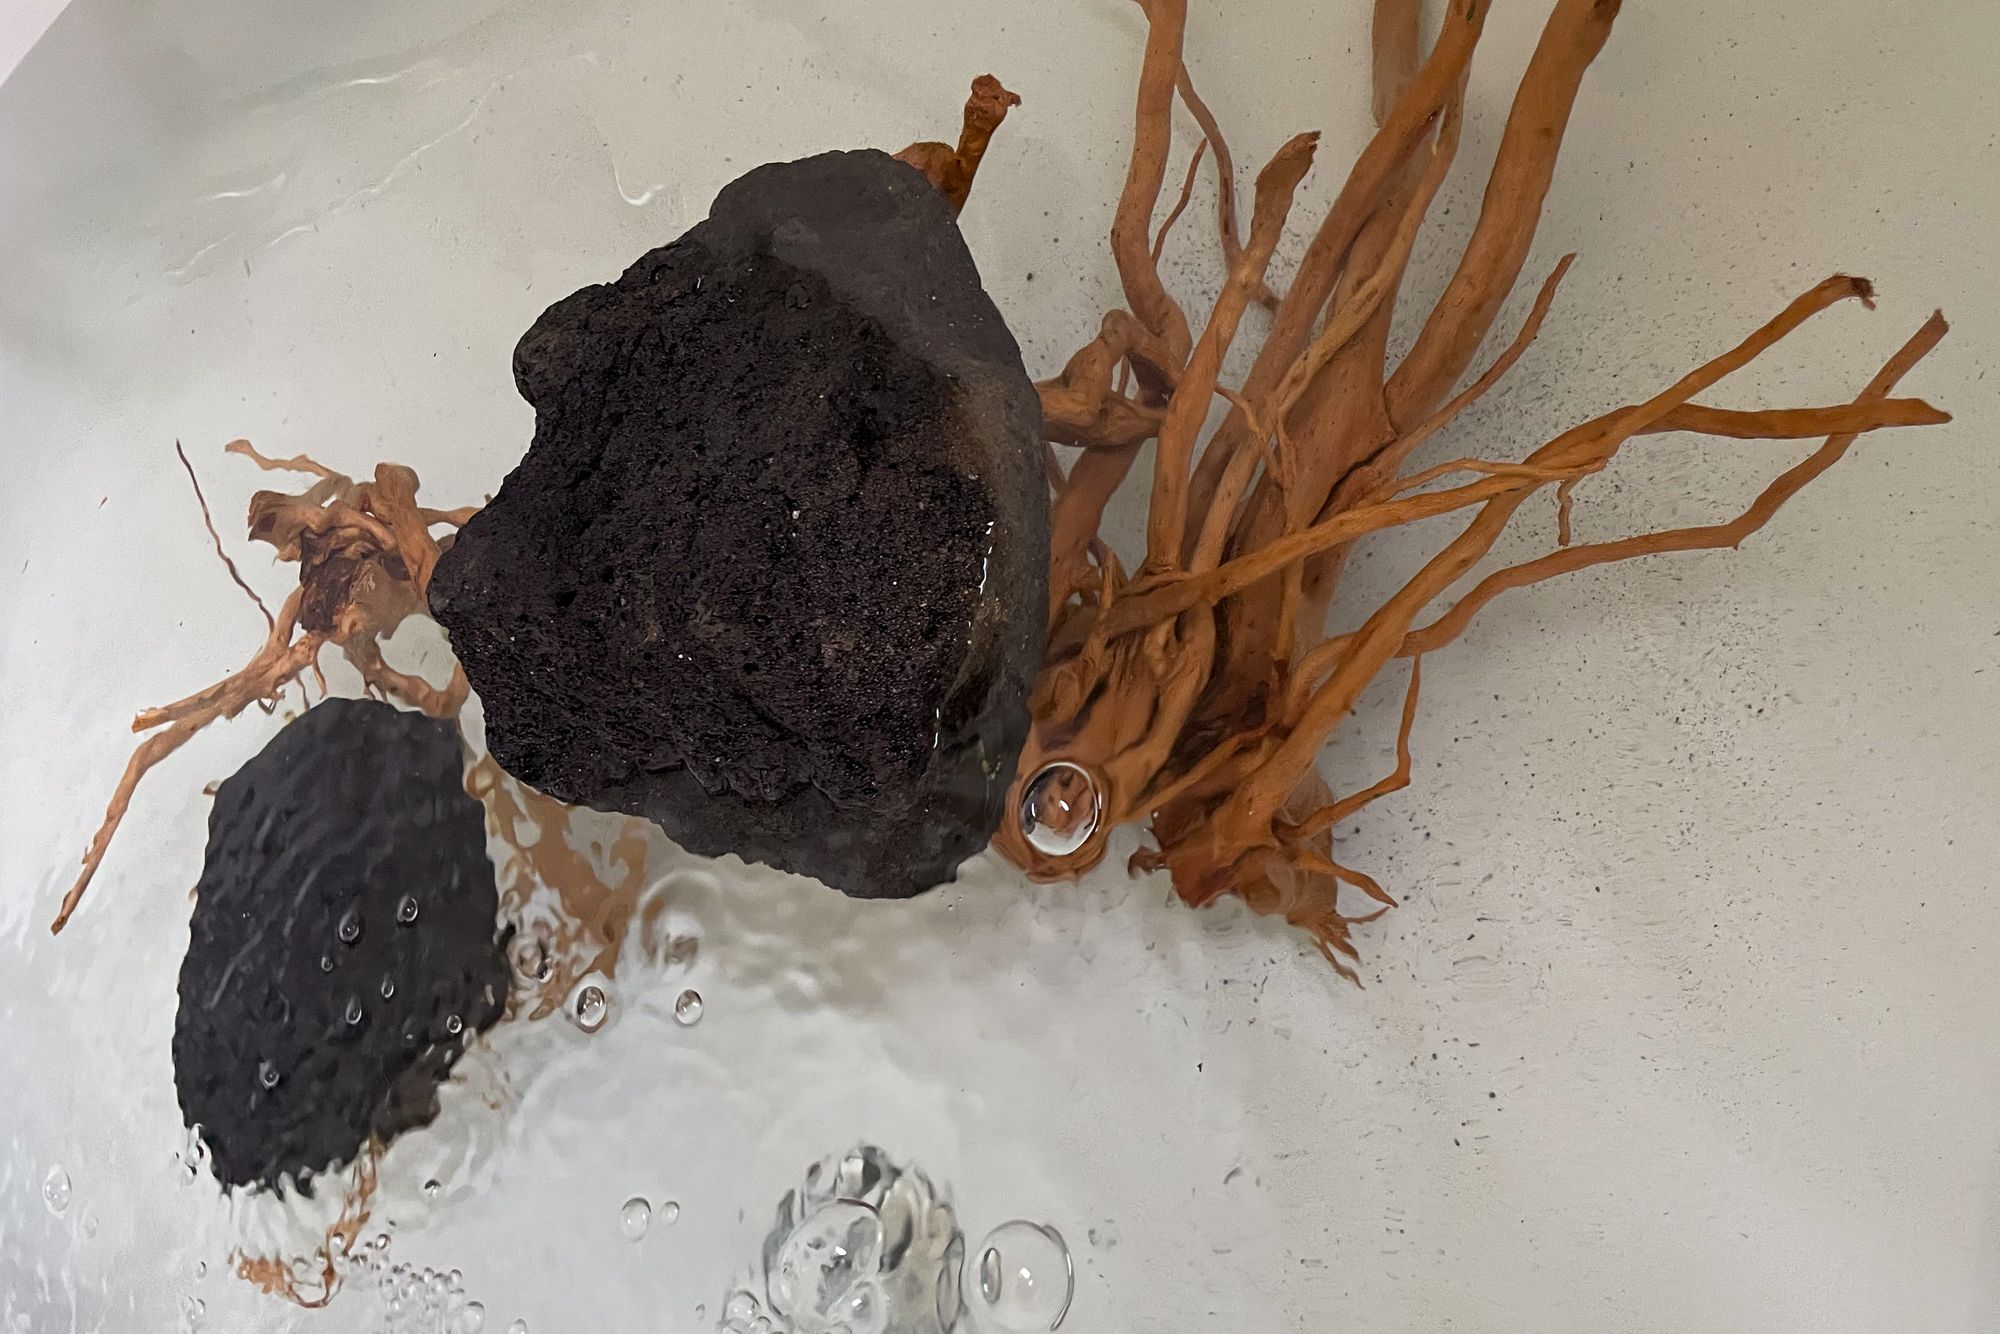 Two days of pre-soaking wood
After 5 days we lifted one of the rocks the see if the wood would stay beneath the surface. The wood didn't float to the surface or move at all. This was the sign that pre-soaking was successful and the wood was ready for scaping.
The bathtub was very dirty and slimy after the pre-soak and needed a thorough clean to be reused for its actual purpose.
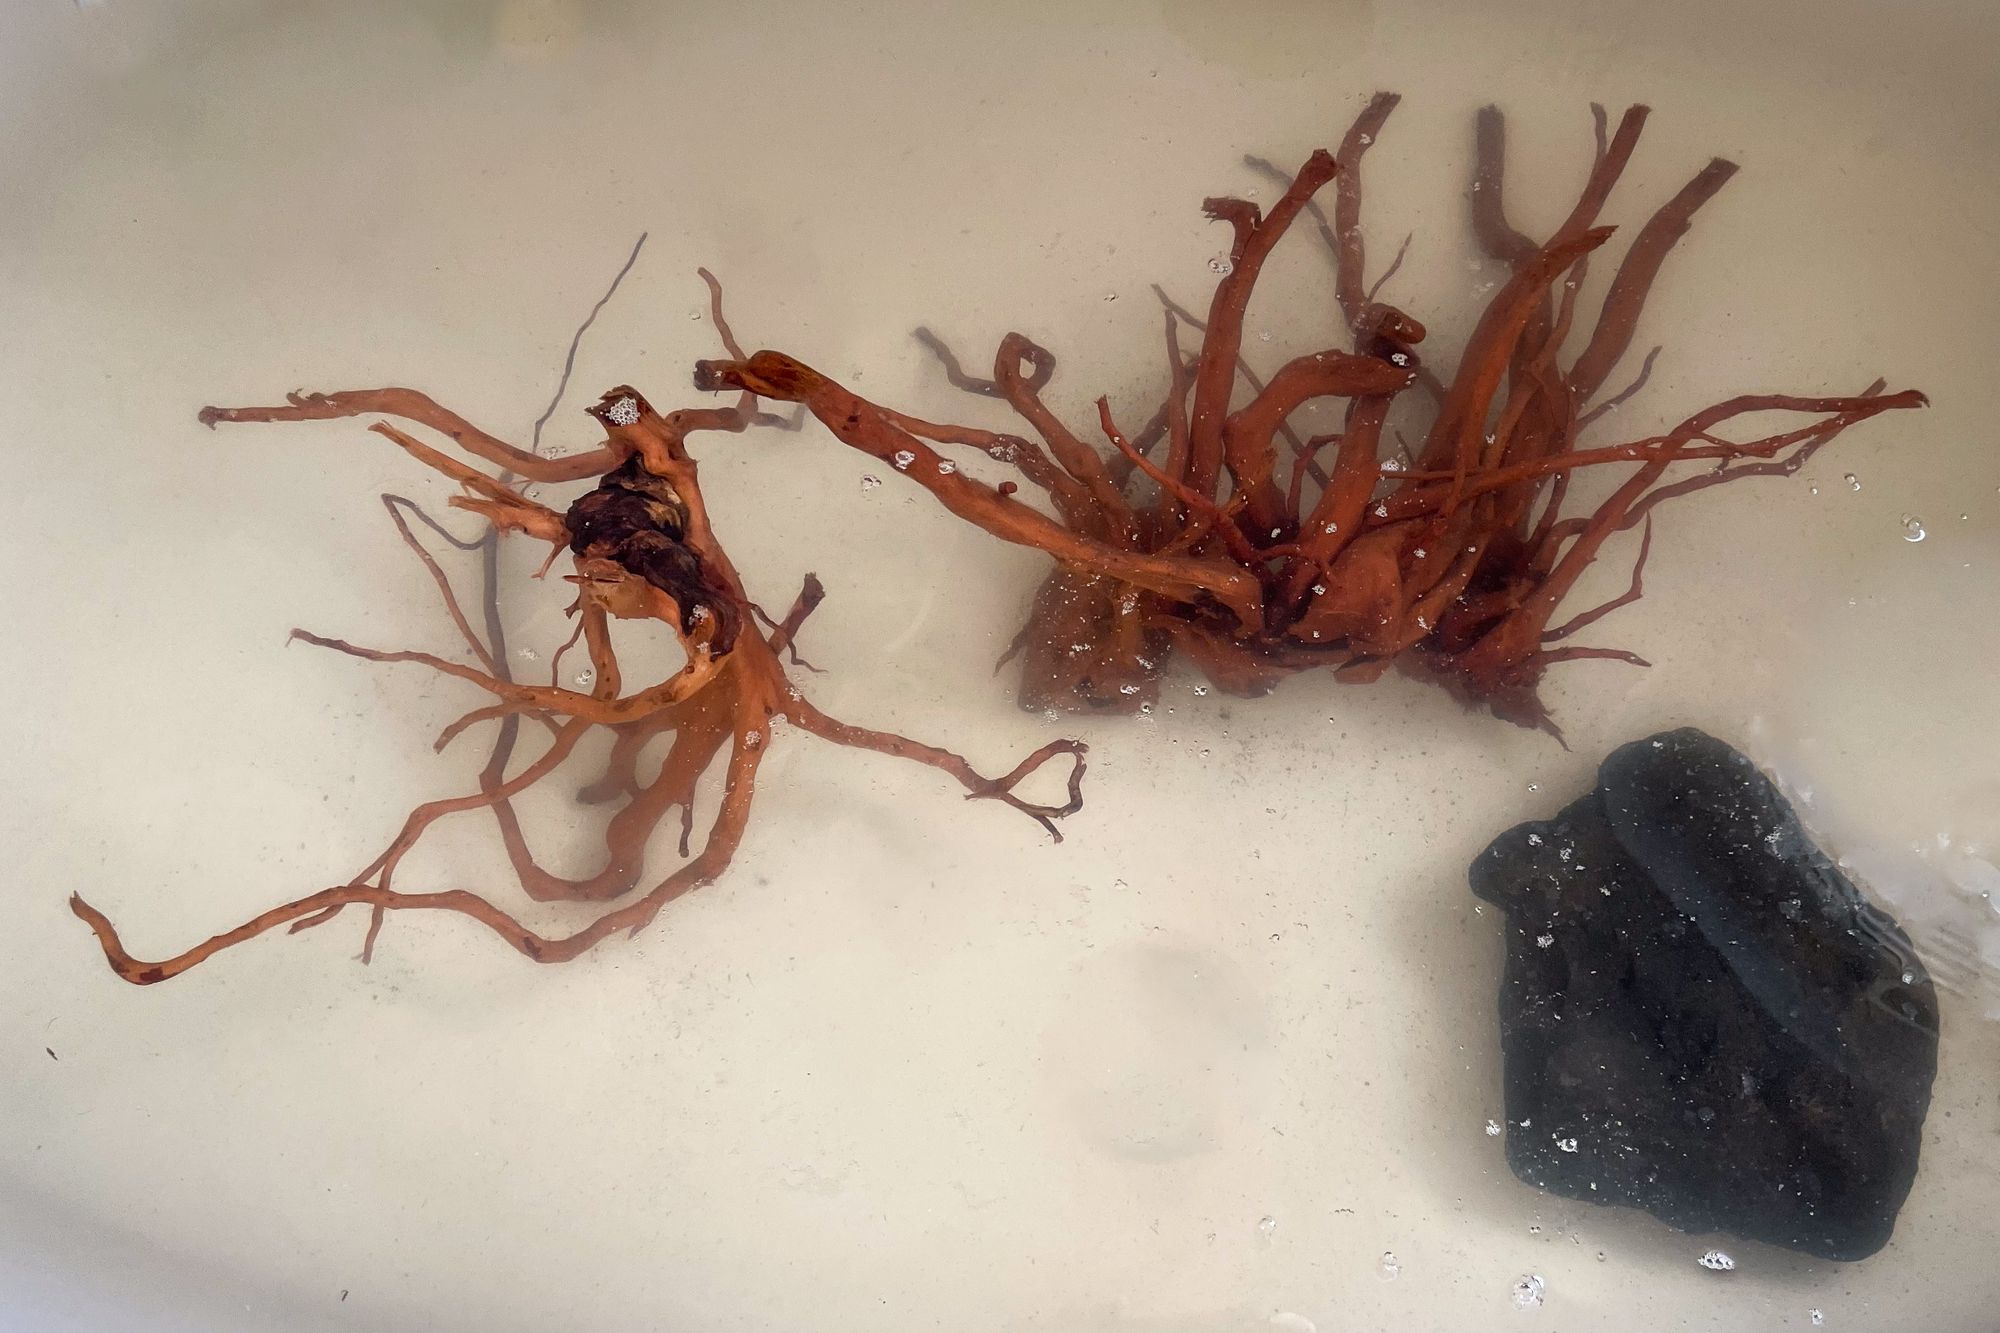 Successful pre-soak of wood.