How to float / pour acclimate
When you buy new animals for your aquarium, it's important to acclimate them to your current aquarium water before putting them in the tank. This is to make sure that they get used to the water parameters and temperature very slowly, otherwise they might get a shock and even end up dying in the worst case.
There are many different methods of how to go about acclimating your animals. In this article we will talk about float acclimation.
The floating / pouring method is a great alternative to drip acclimation. It can be done with or without a bag. Just make sure the container you use is able to float (e.g. made from plastic or thin metal).
For the pouring method you most likely don't need to purchase any items, as the used materials should be available at home.
Pro-Tip: In case you don't have a container that floats, buy a big soft plastic water bottle in the grocery store and cut the top open. The soft plastic bottle will definitely float.
Used Materials
Step by Step Guide
- In case you didn't receive your aquatic animals in a bag, you can either pour them into a bag or any other container which is able to float by itself.
- Turn off you aquarium lights to reduce the stress level of your aquatic animals.
- When using a bag, open it / remove the rubber bands and roll up the sides a few time.
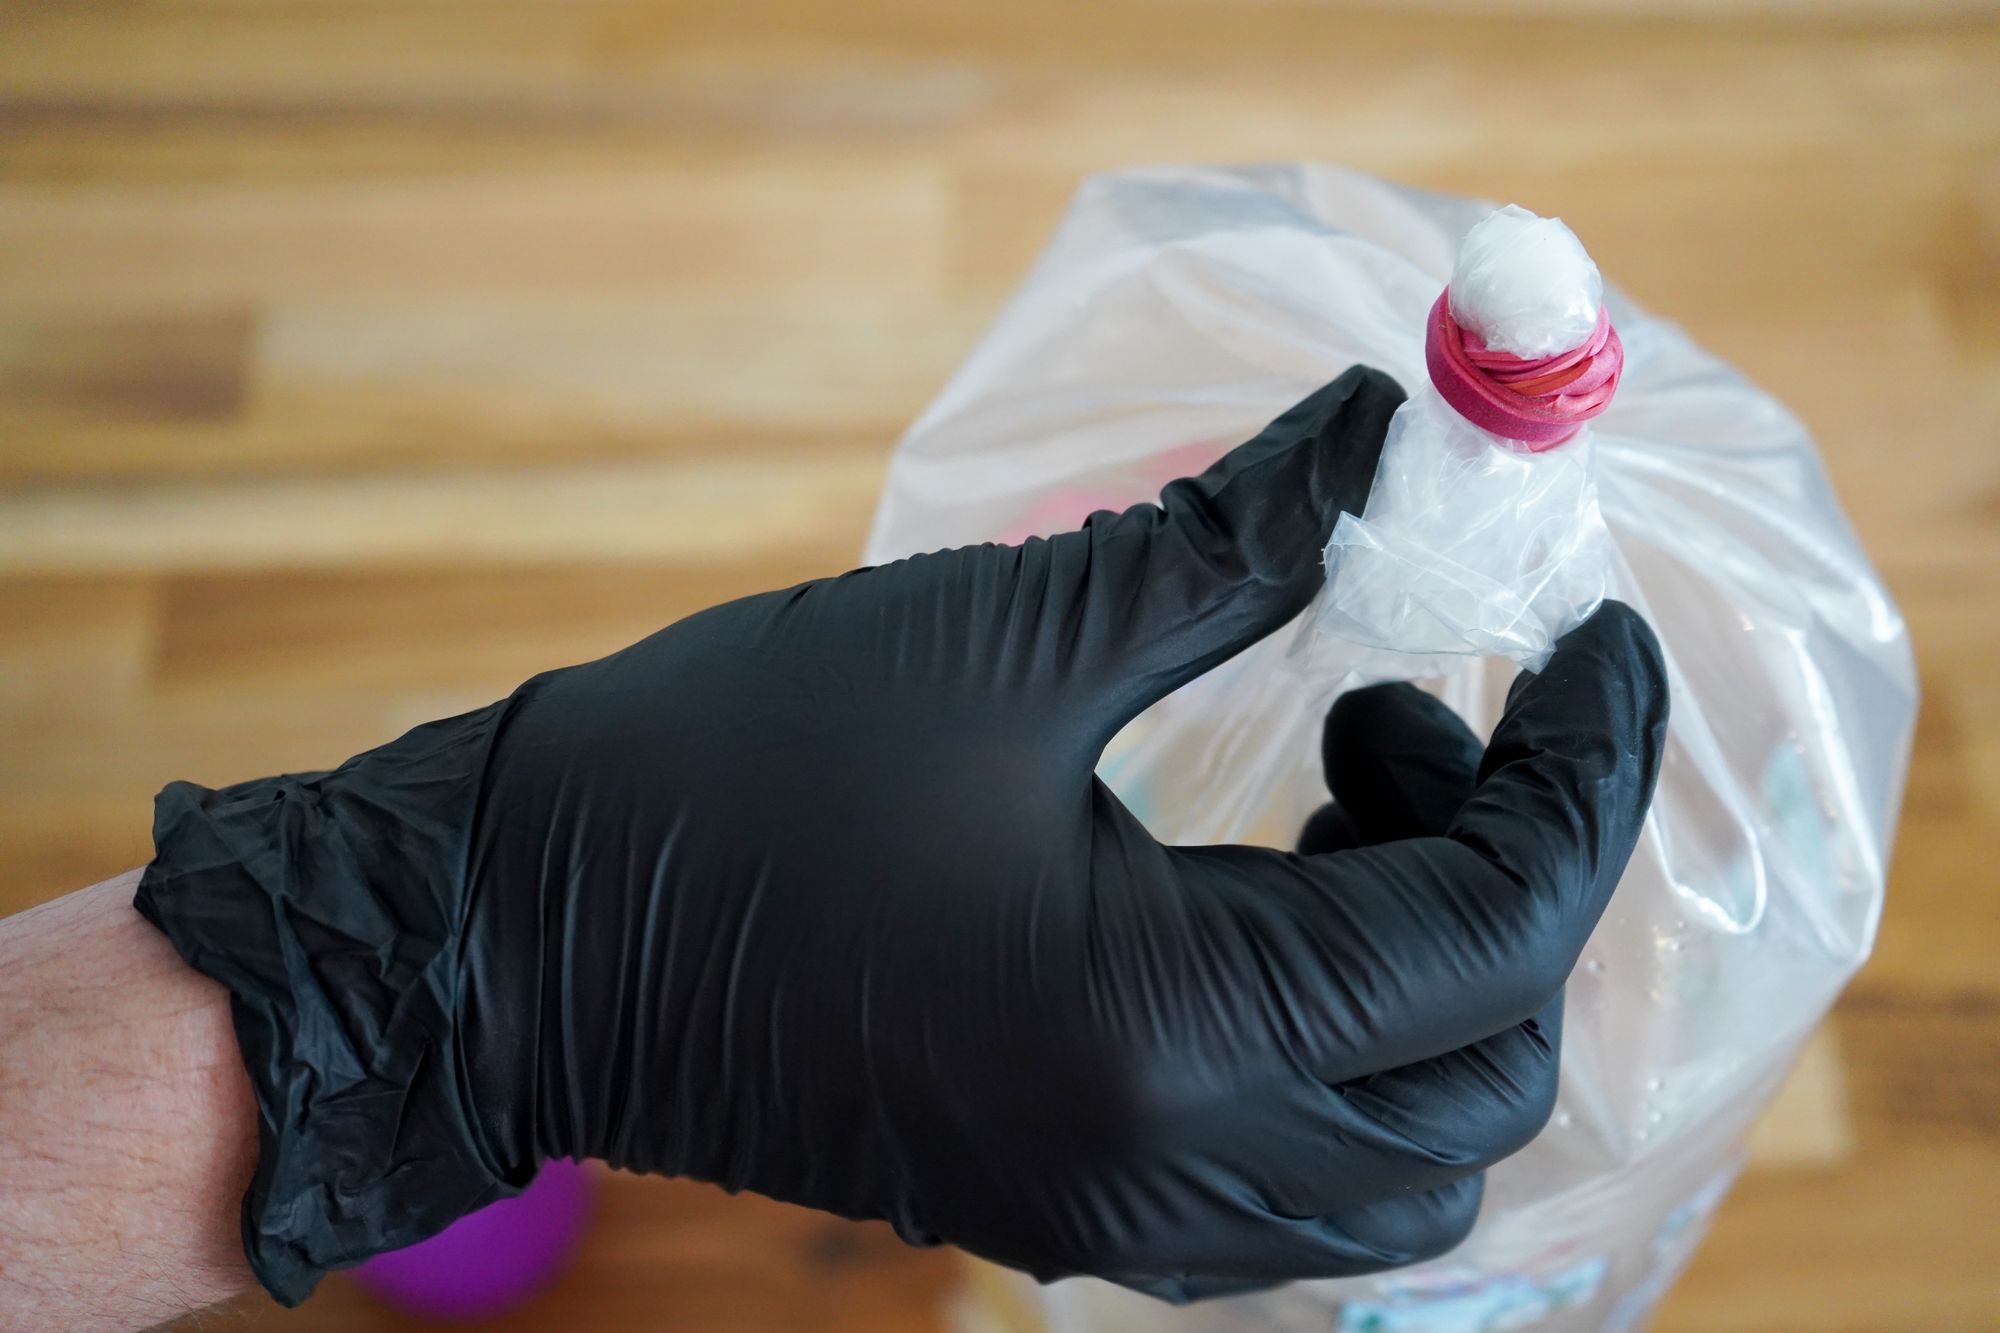 Bag with rubber band.
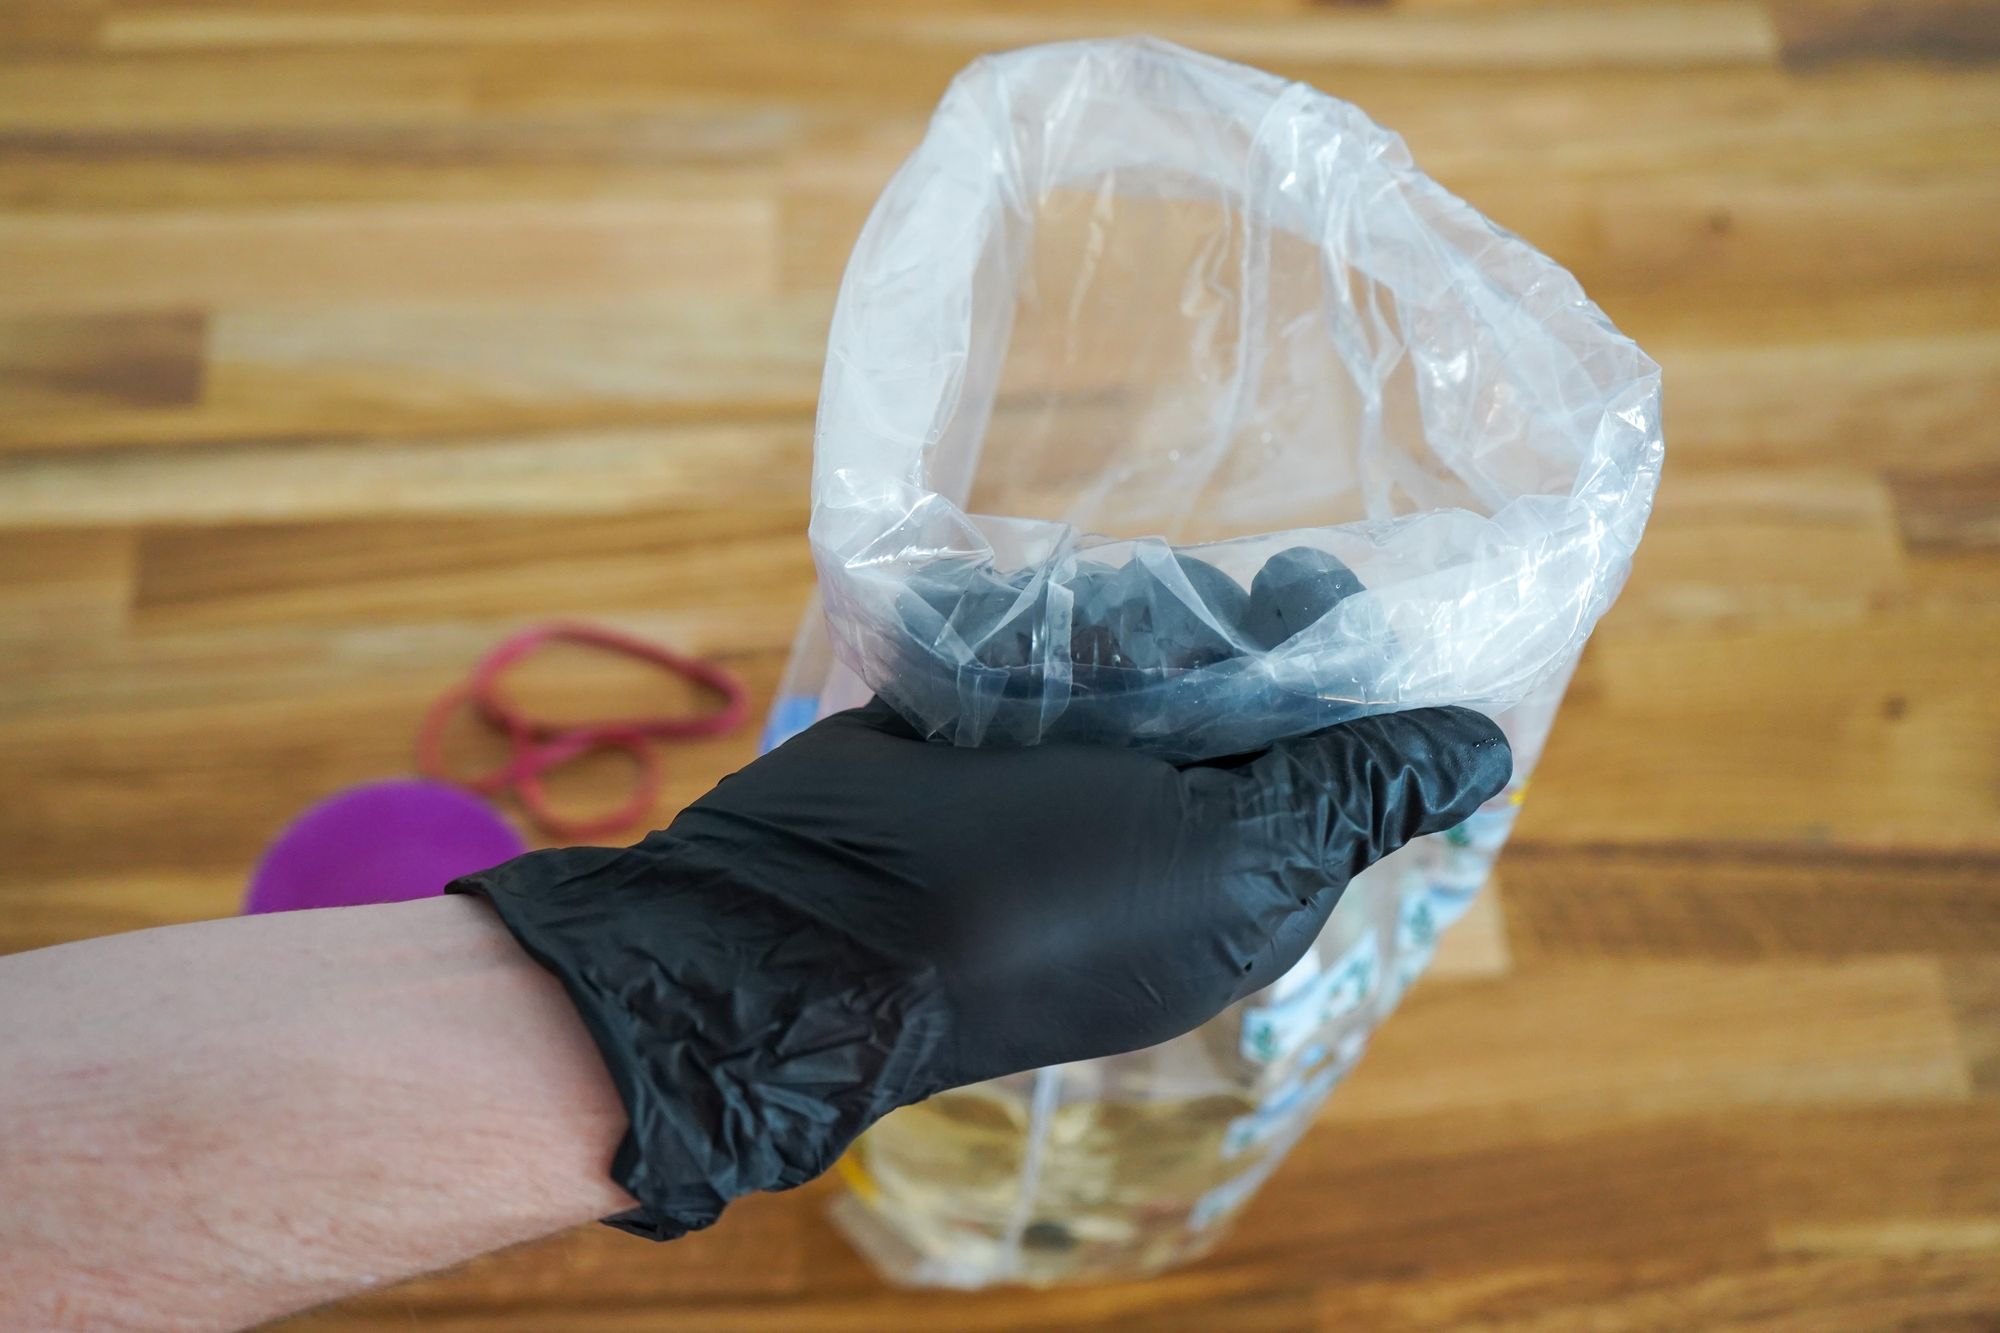 Open bag with rolled up sleeves.
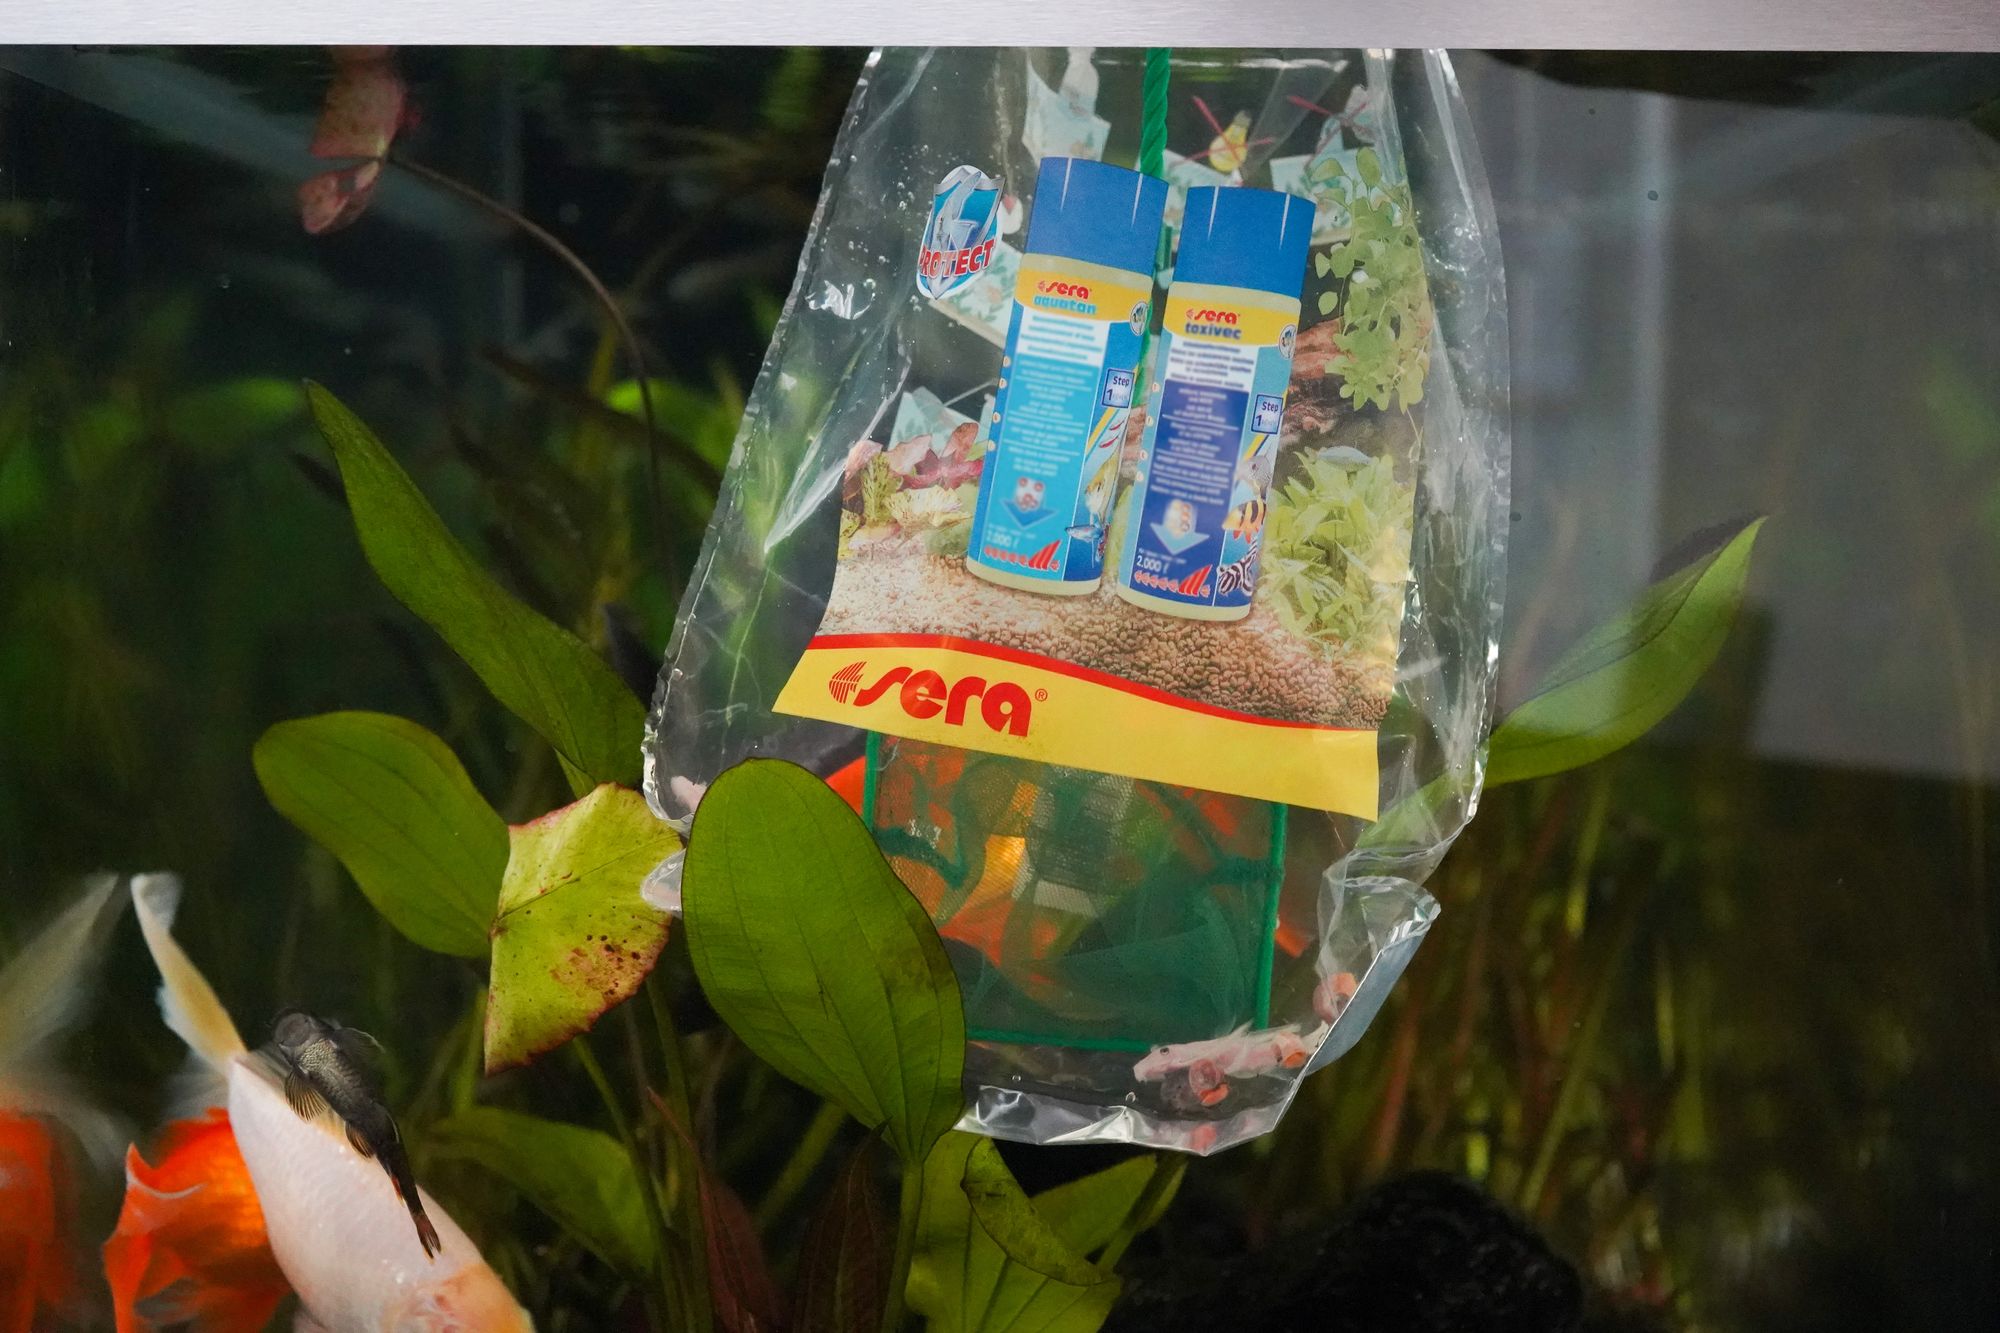
- Place the rolled up bag / floatable container in your aquarium. Make sure it floats and doesn't tilt. You can also fixate the bag to one of the aquarium panels, by using the rolled up sleeves or a clamp.
 Rolled up sleeves hooked to the aquarium panel.
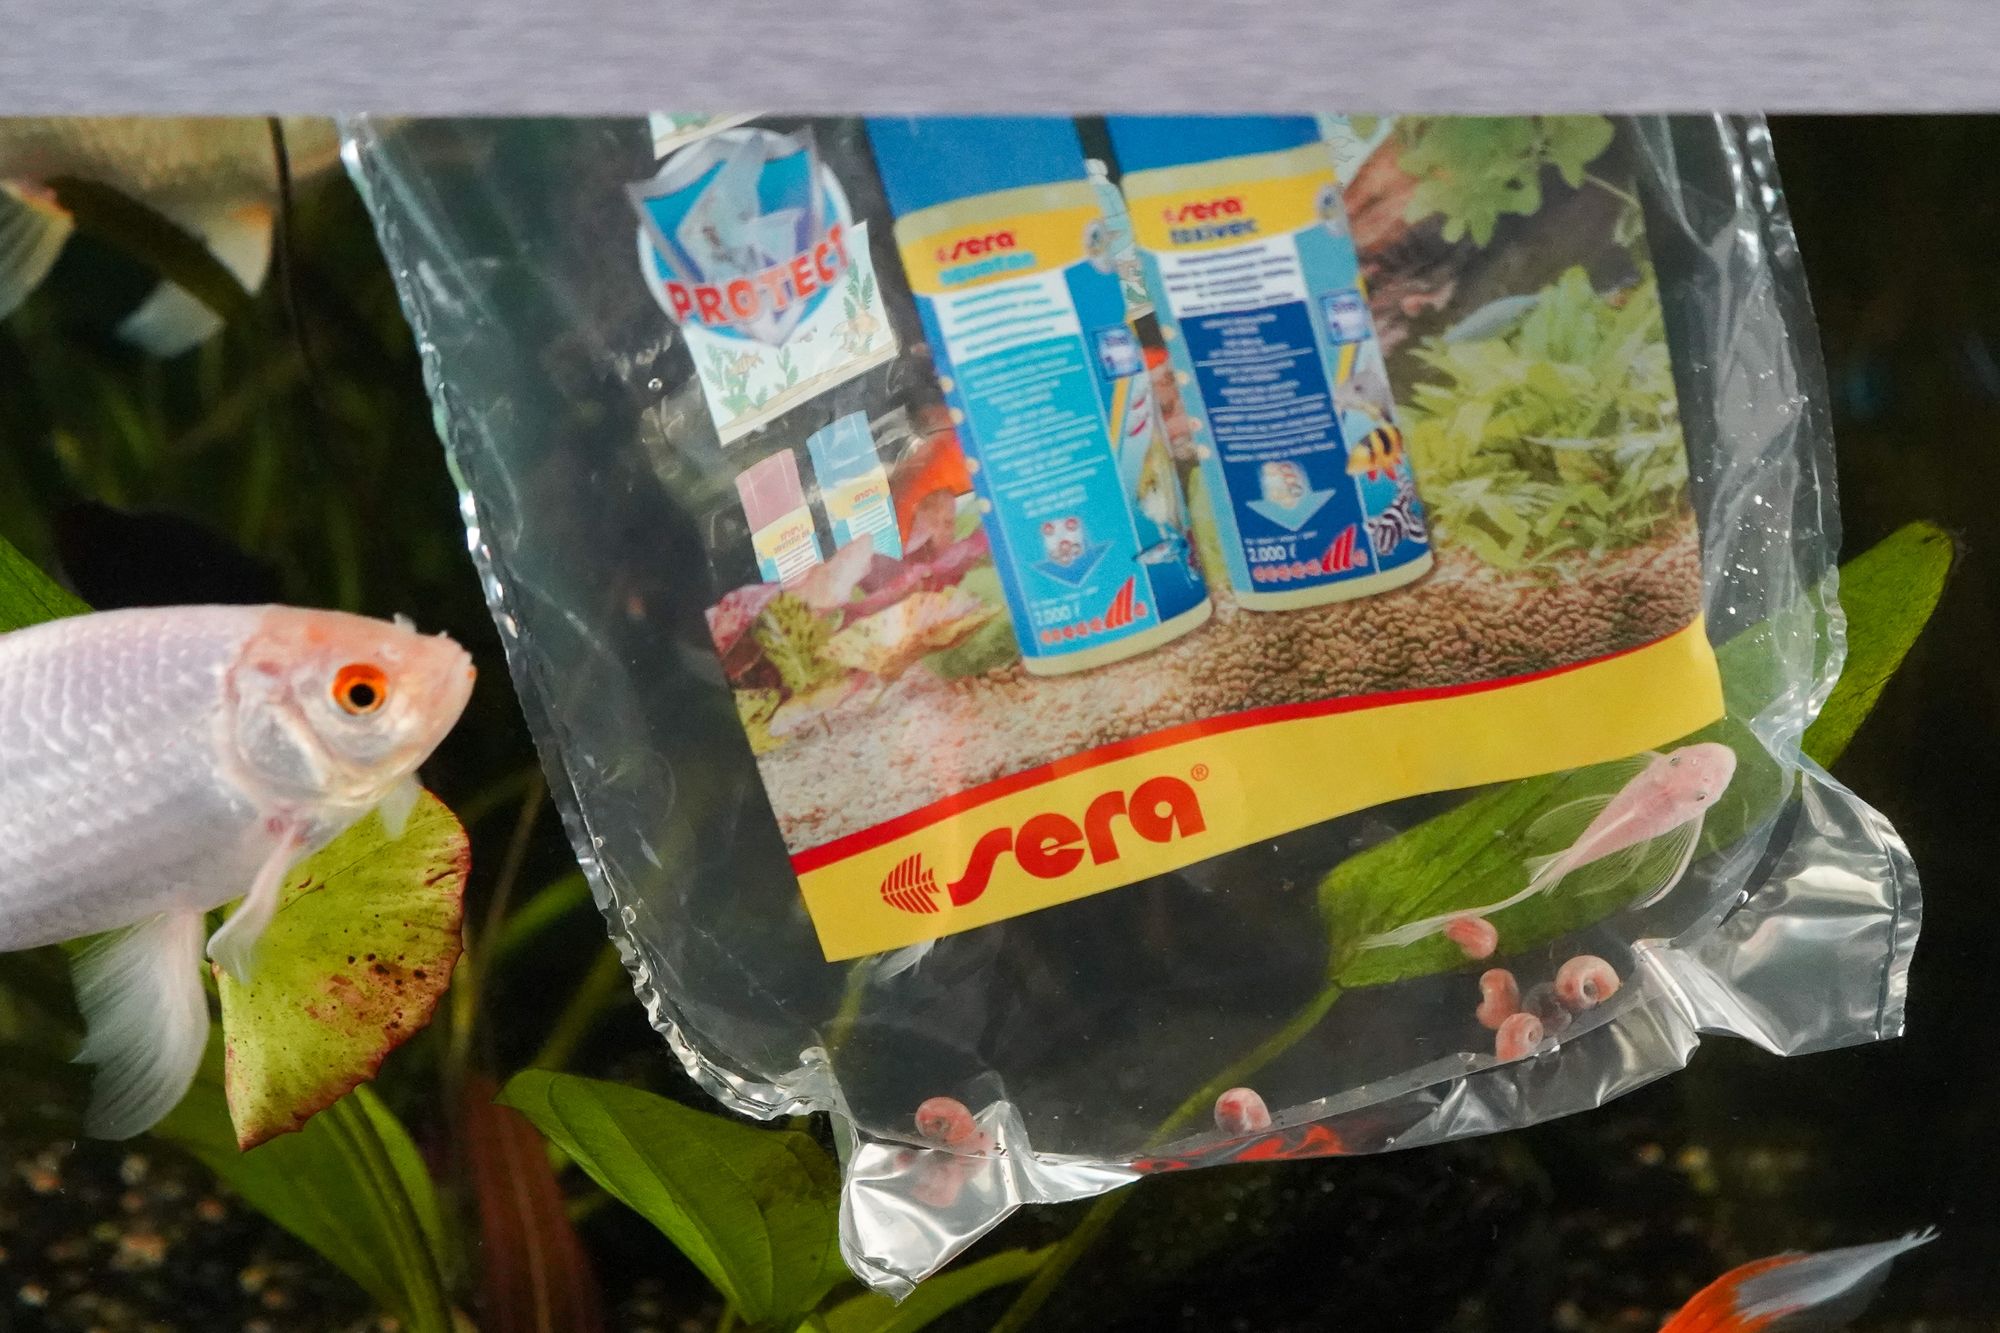 Bag is securely placed in the aquarium, not able to tilt.
- Now get a small cup and pour some water from your aquarium into the rolled up bag / floating container. Make sure to only take small portions of water (5-15 % of initial water amount in the bag / container). The less / slower the dilution of the water, the better for your animals.
 Filling the cup with aquarium water.
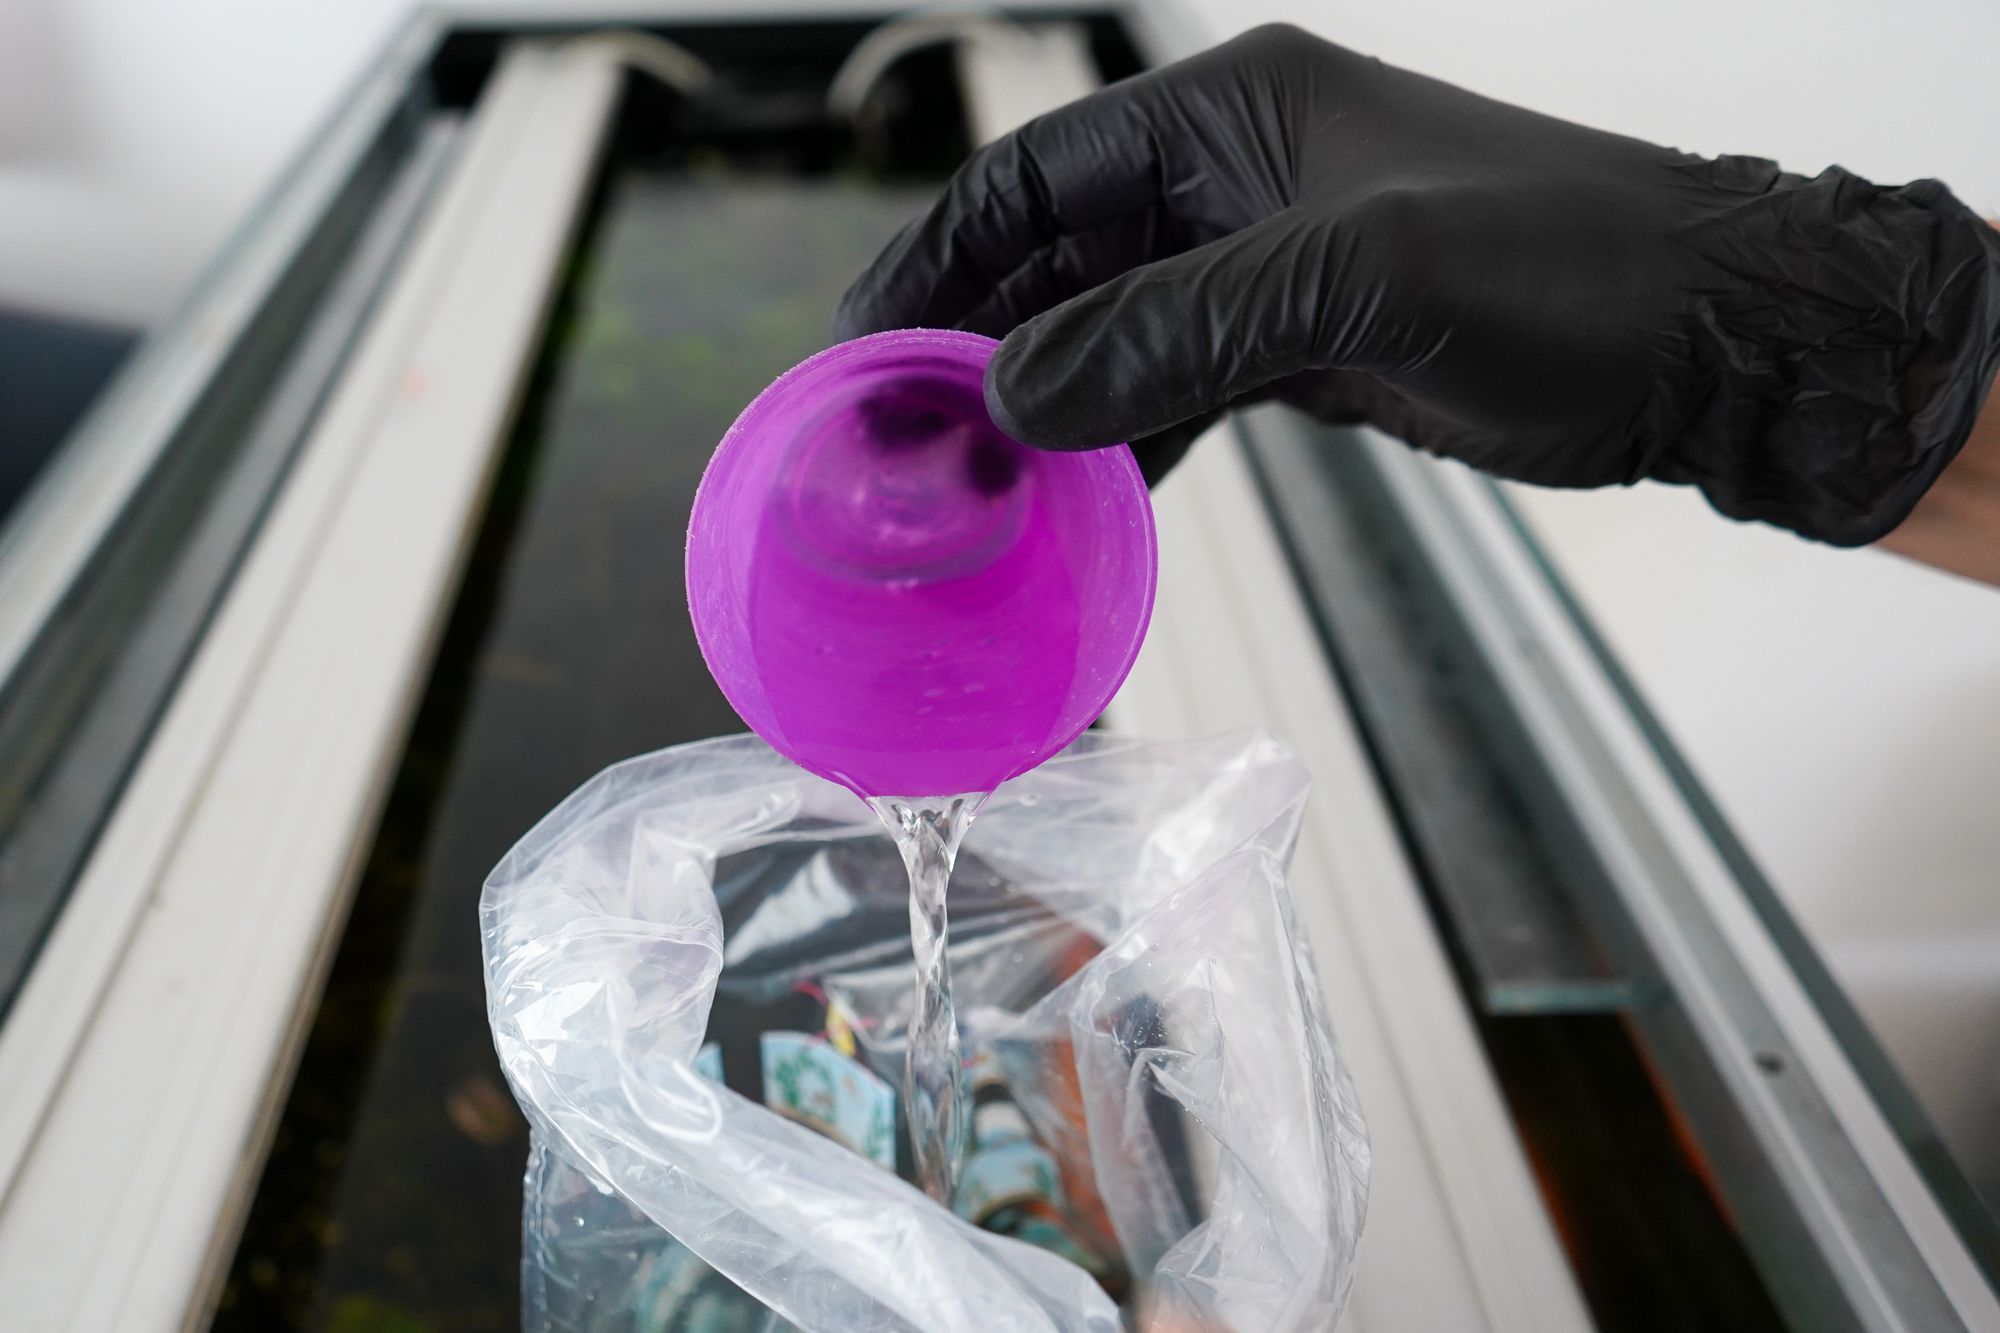 Pouring the water slowly into the bag.
- Repeat the above step every 10 - 15 Minutes for the next 1 - 2 hours. Rule of thumb would be 1/3 original water from the bag and 2/3 from your aquarium water. In case you run the risk that the water overflows from the bag or container, you need to remove excessive water with a cup. Important: You don't want to contaminate your aquarium water with foreign water. It may contain medicine , bacteria or who knows what.
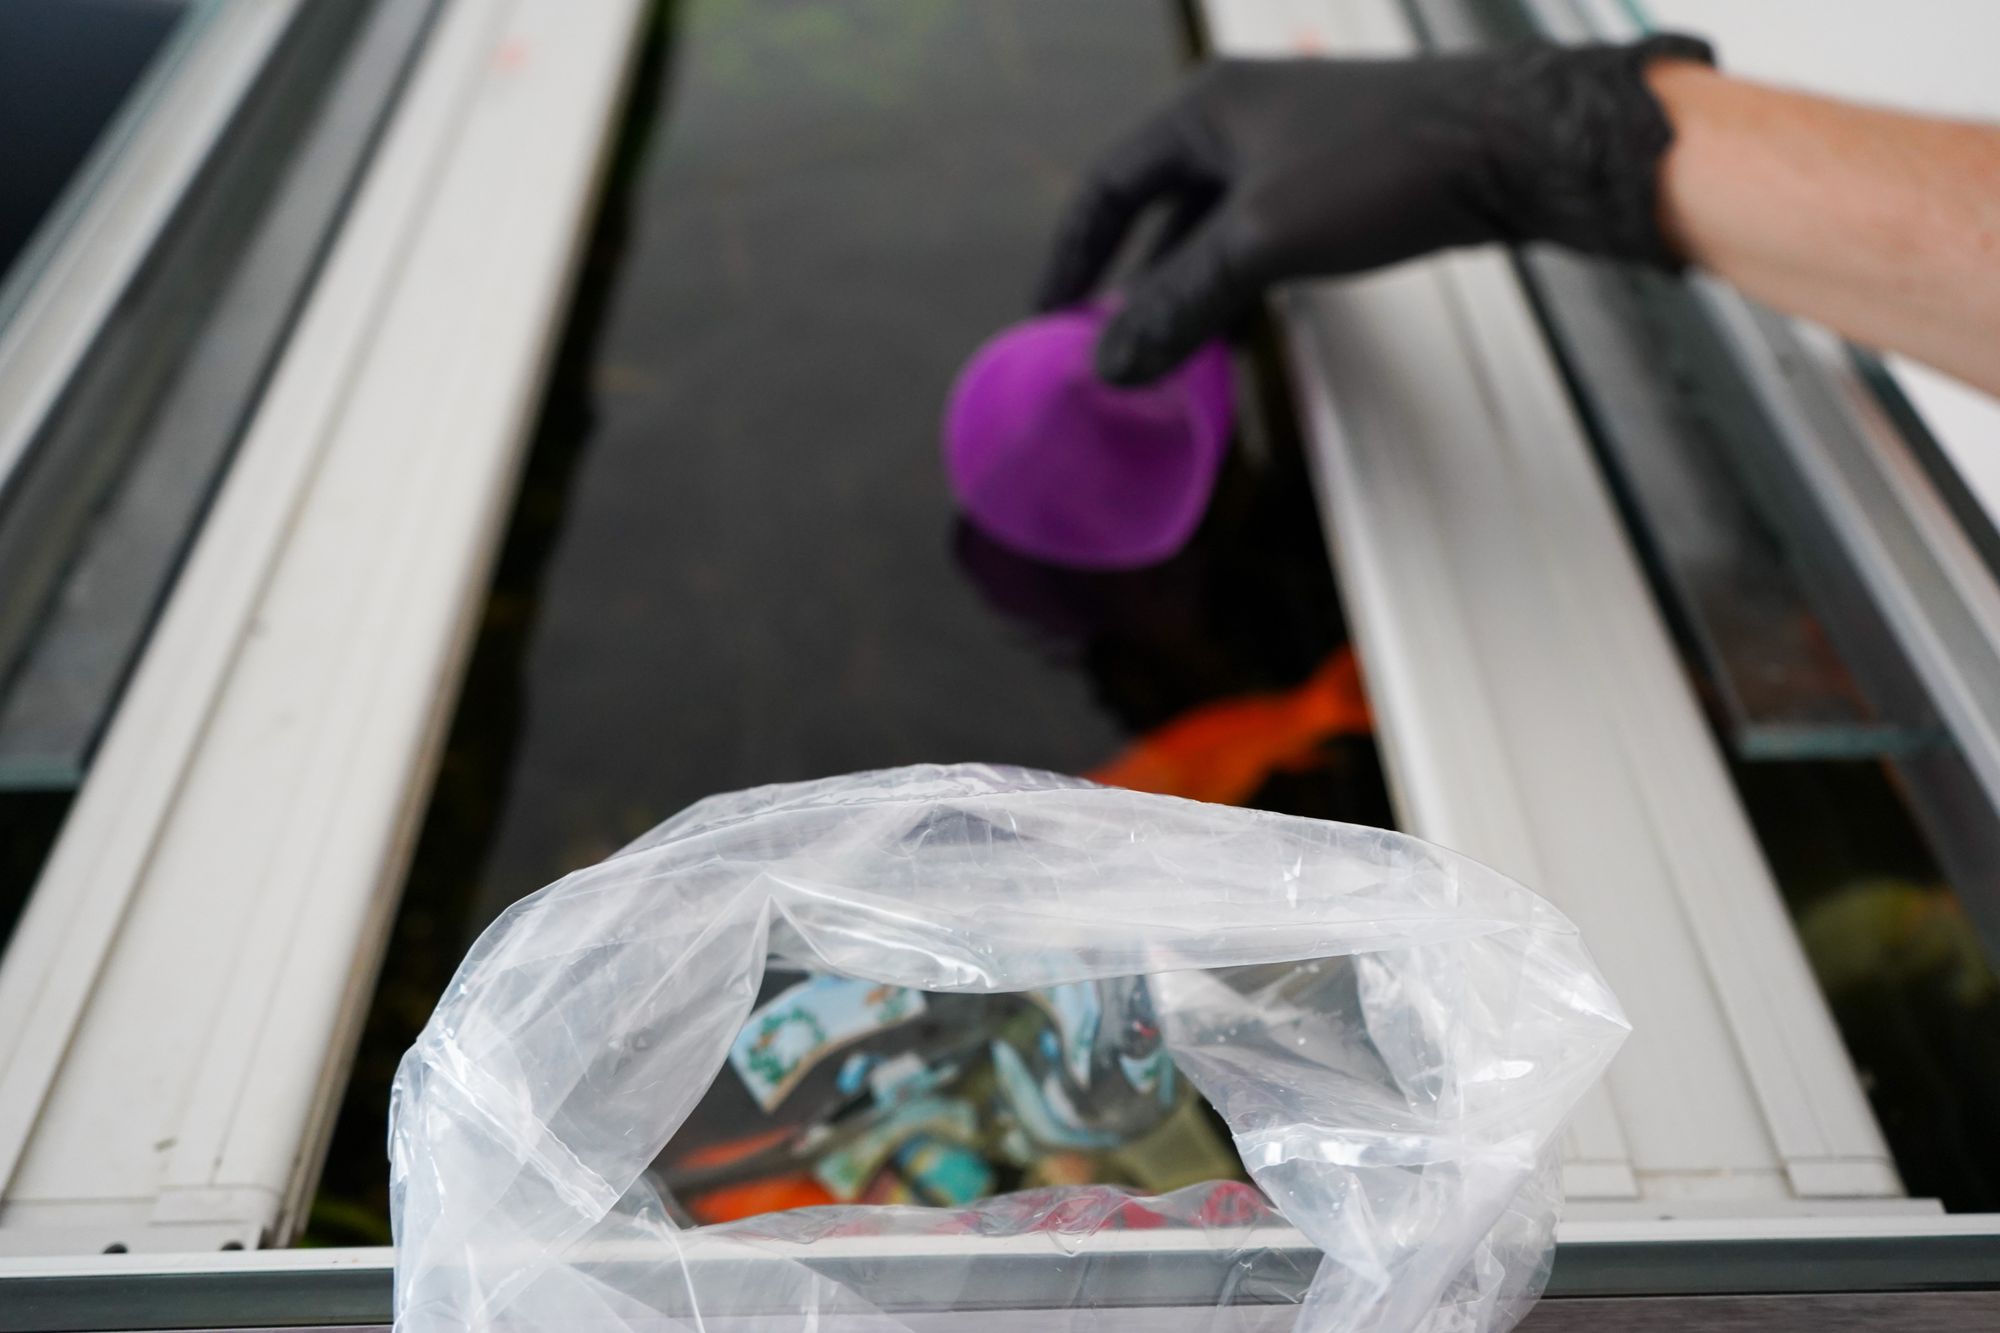
- Now you will need a fine mesh fish net. In case the fish net does not fit into the bag, you will also require a bucket.
- Gently scoop out your aquatic animals (for snails use your hands) with the fish net and place the fish net in your tank with the open side slightly tilted to the bottom (aquatic animals tend to swim towards the ground when stressed).
 Gently scooping out snow white pleco with fine mesh fish net.
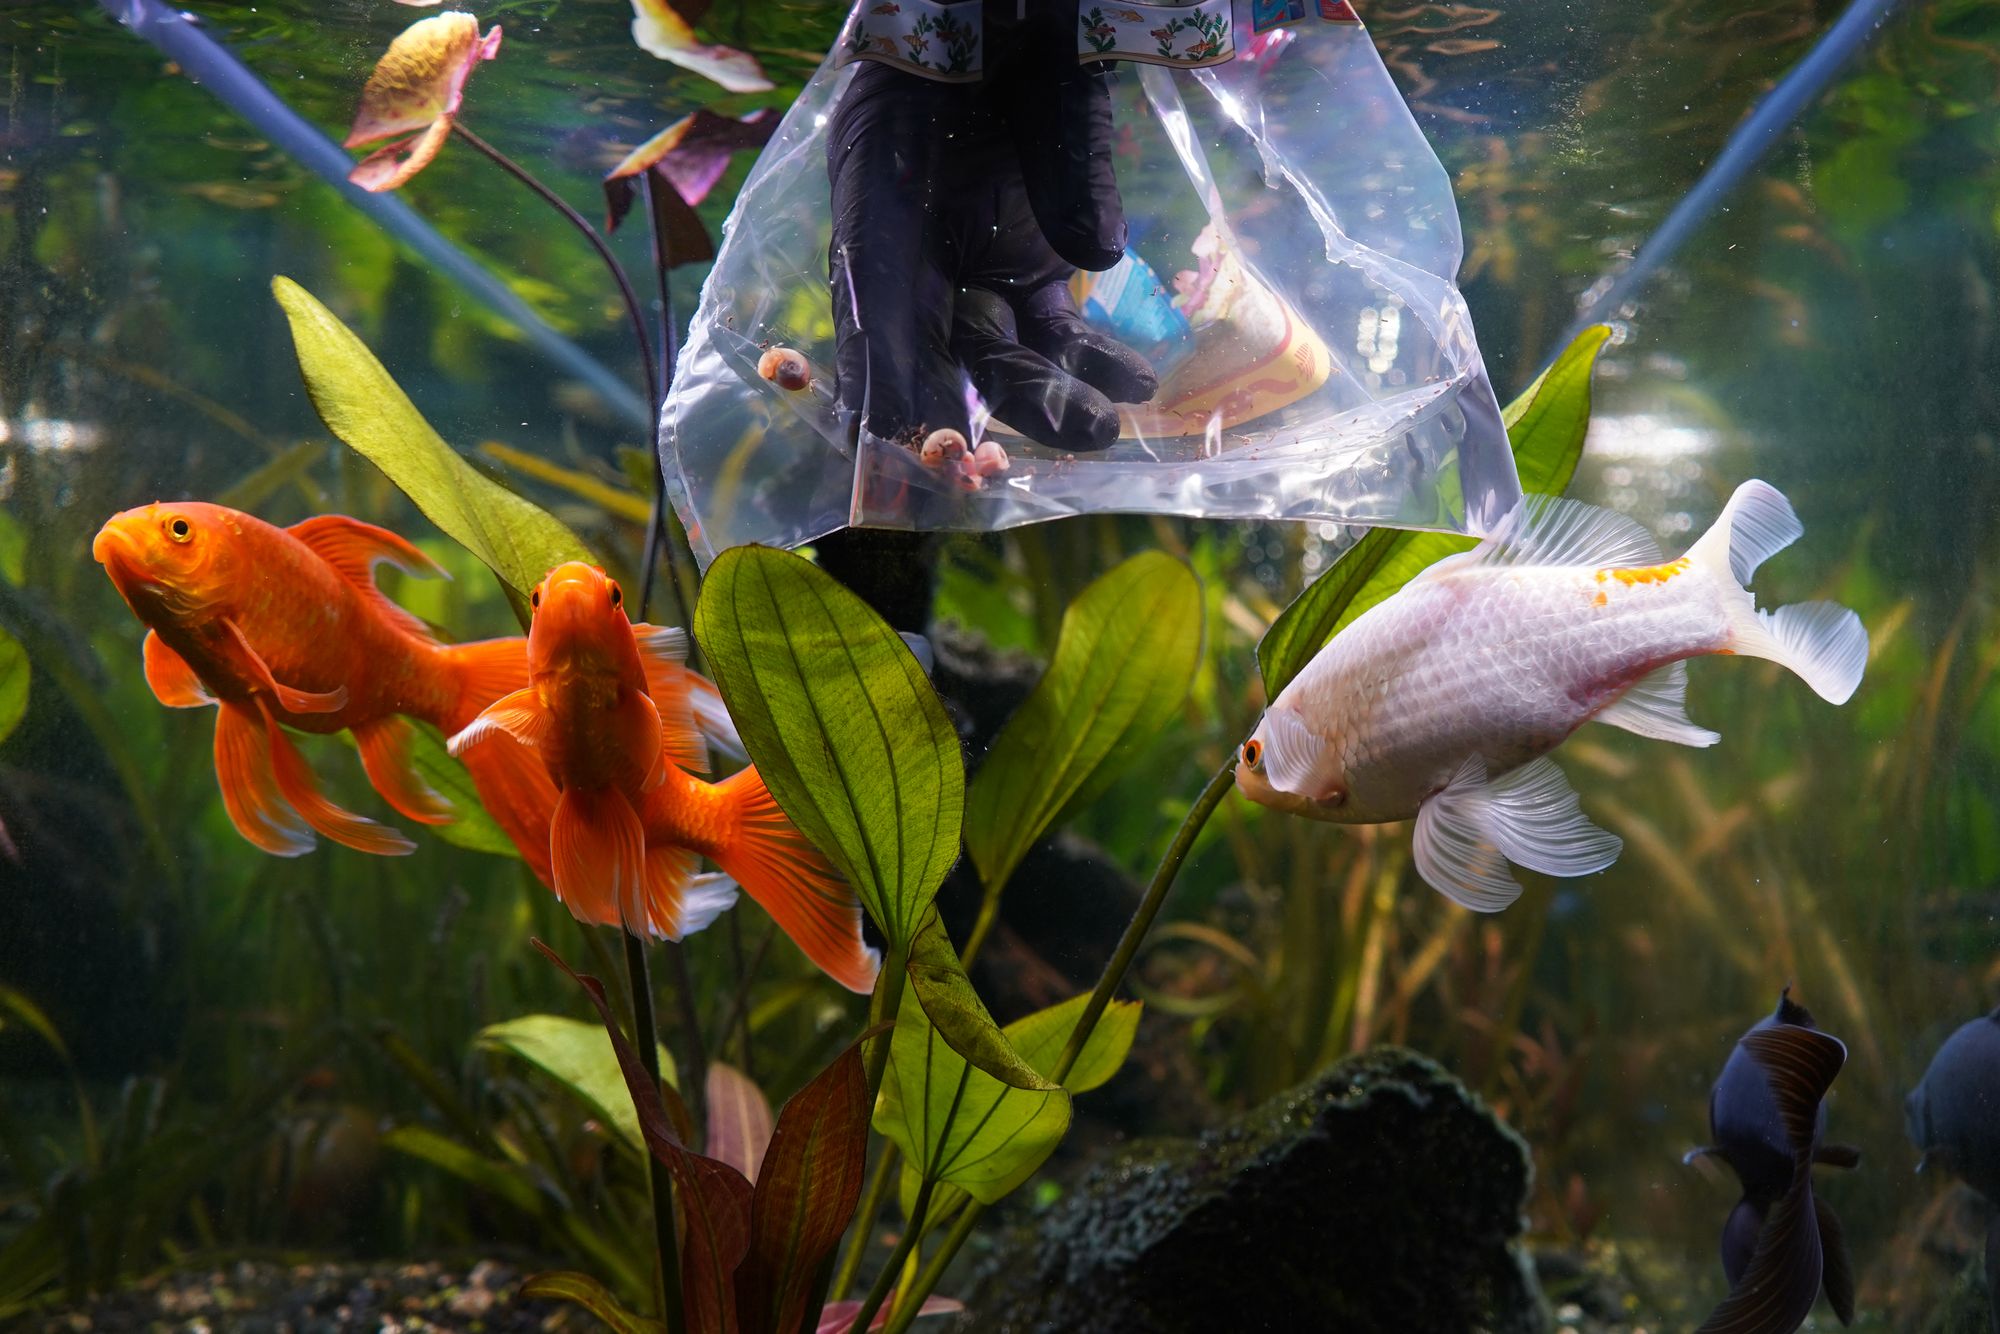 Carefully picking up snails by hand. Do not want to crush or damage the shell.
- In case the aquatic animal is not leaving the fish net, you can gently move the fish net back and forth with the open side, creating a gentle flow or tilting the open side towards the bottom and softly lifting the fish net out of the water.
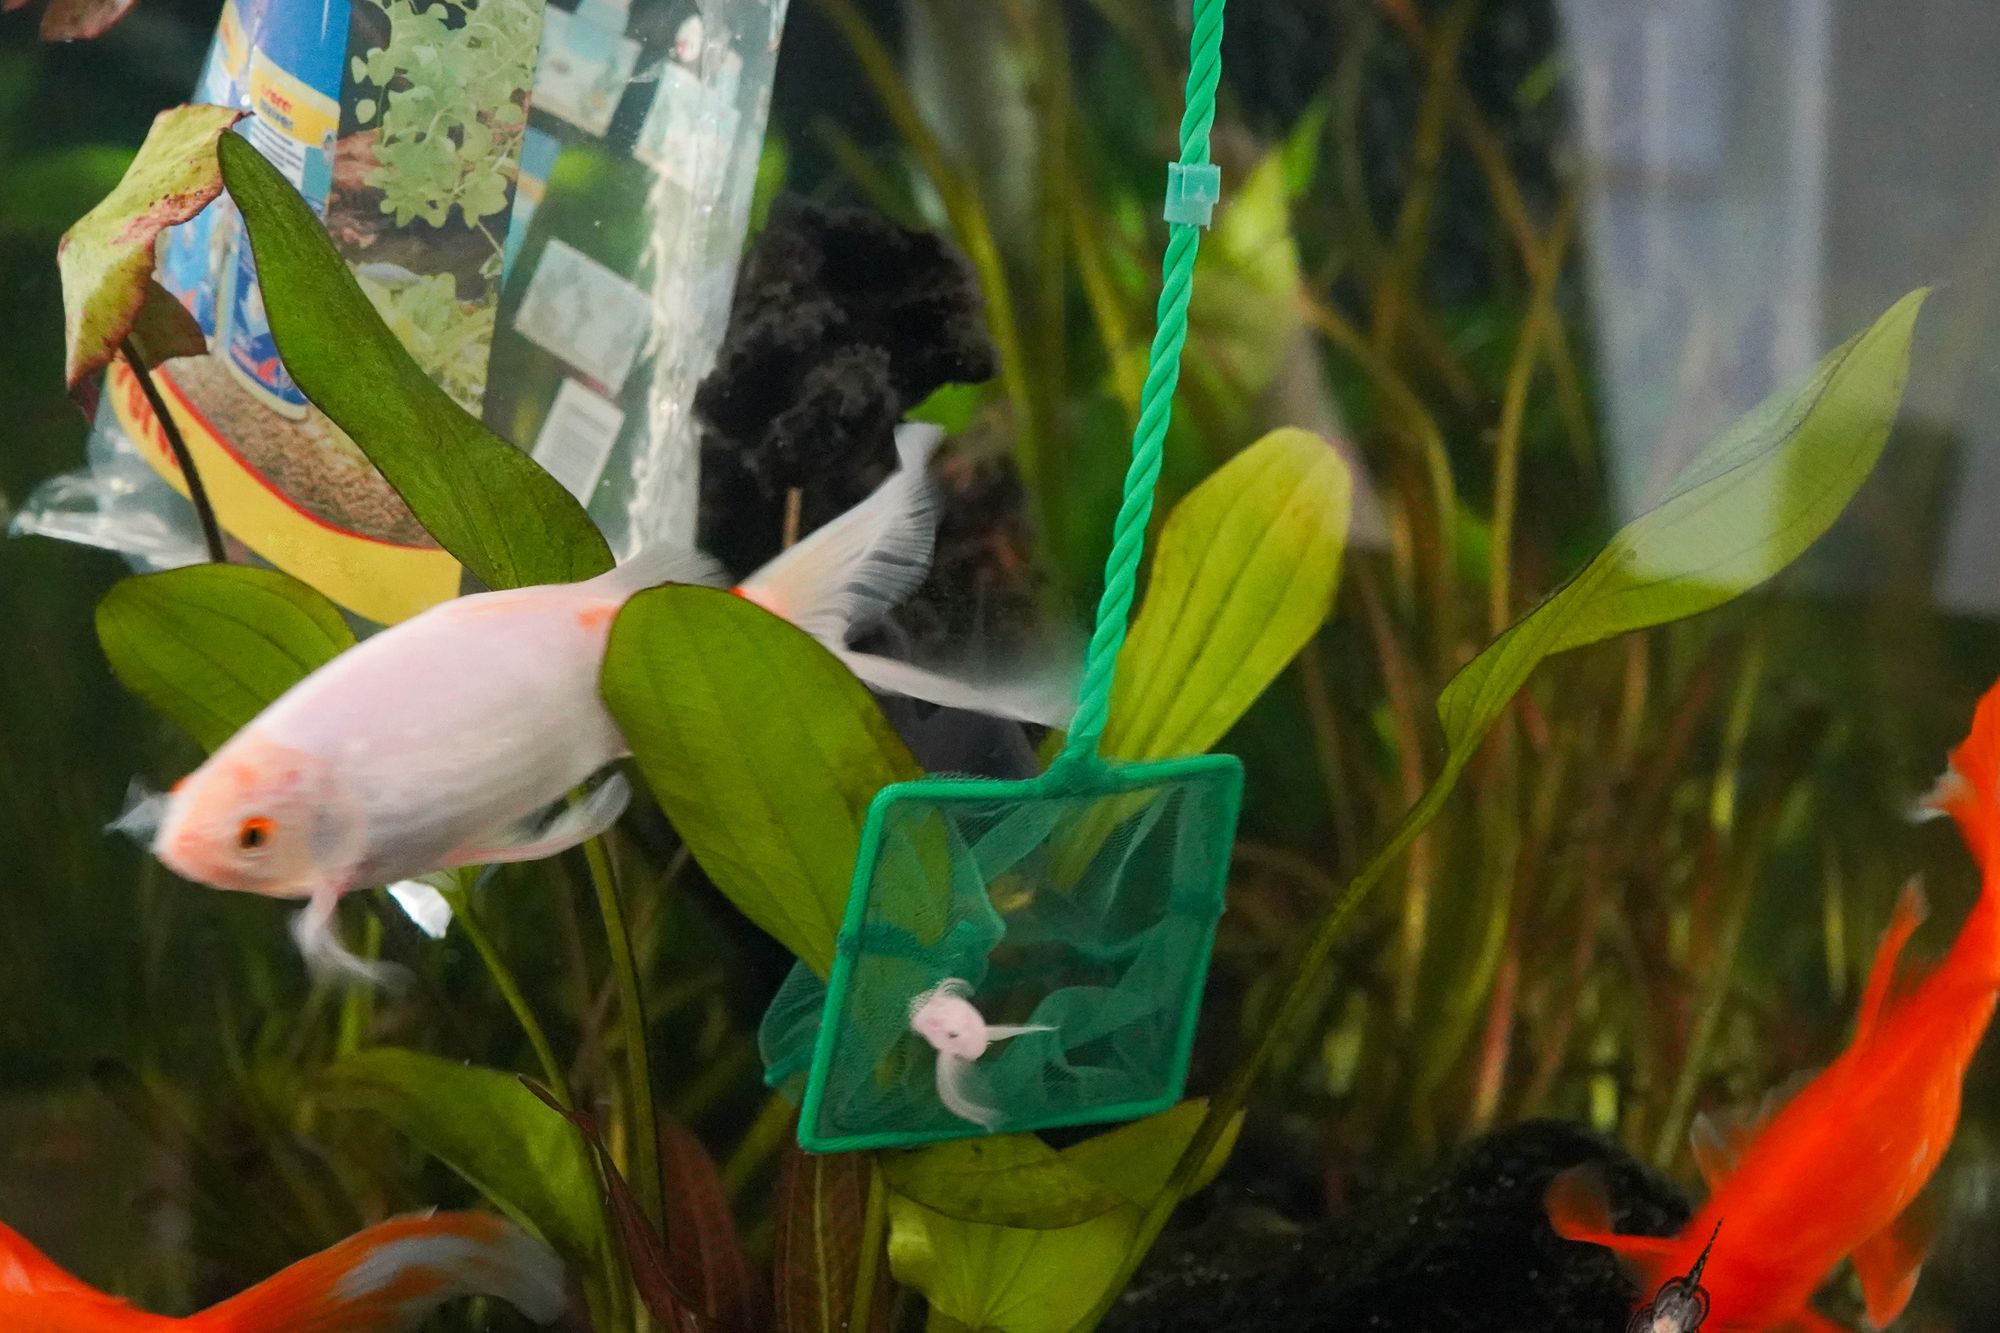 Snow White Pleco swimming out of the fine mesh fish net.
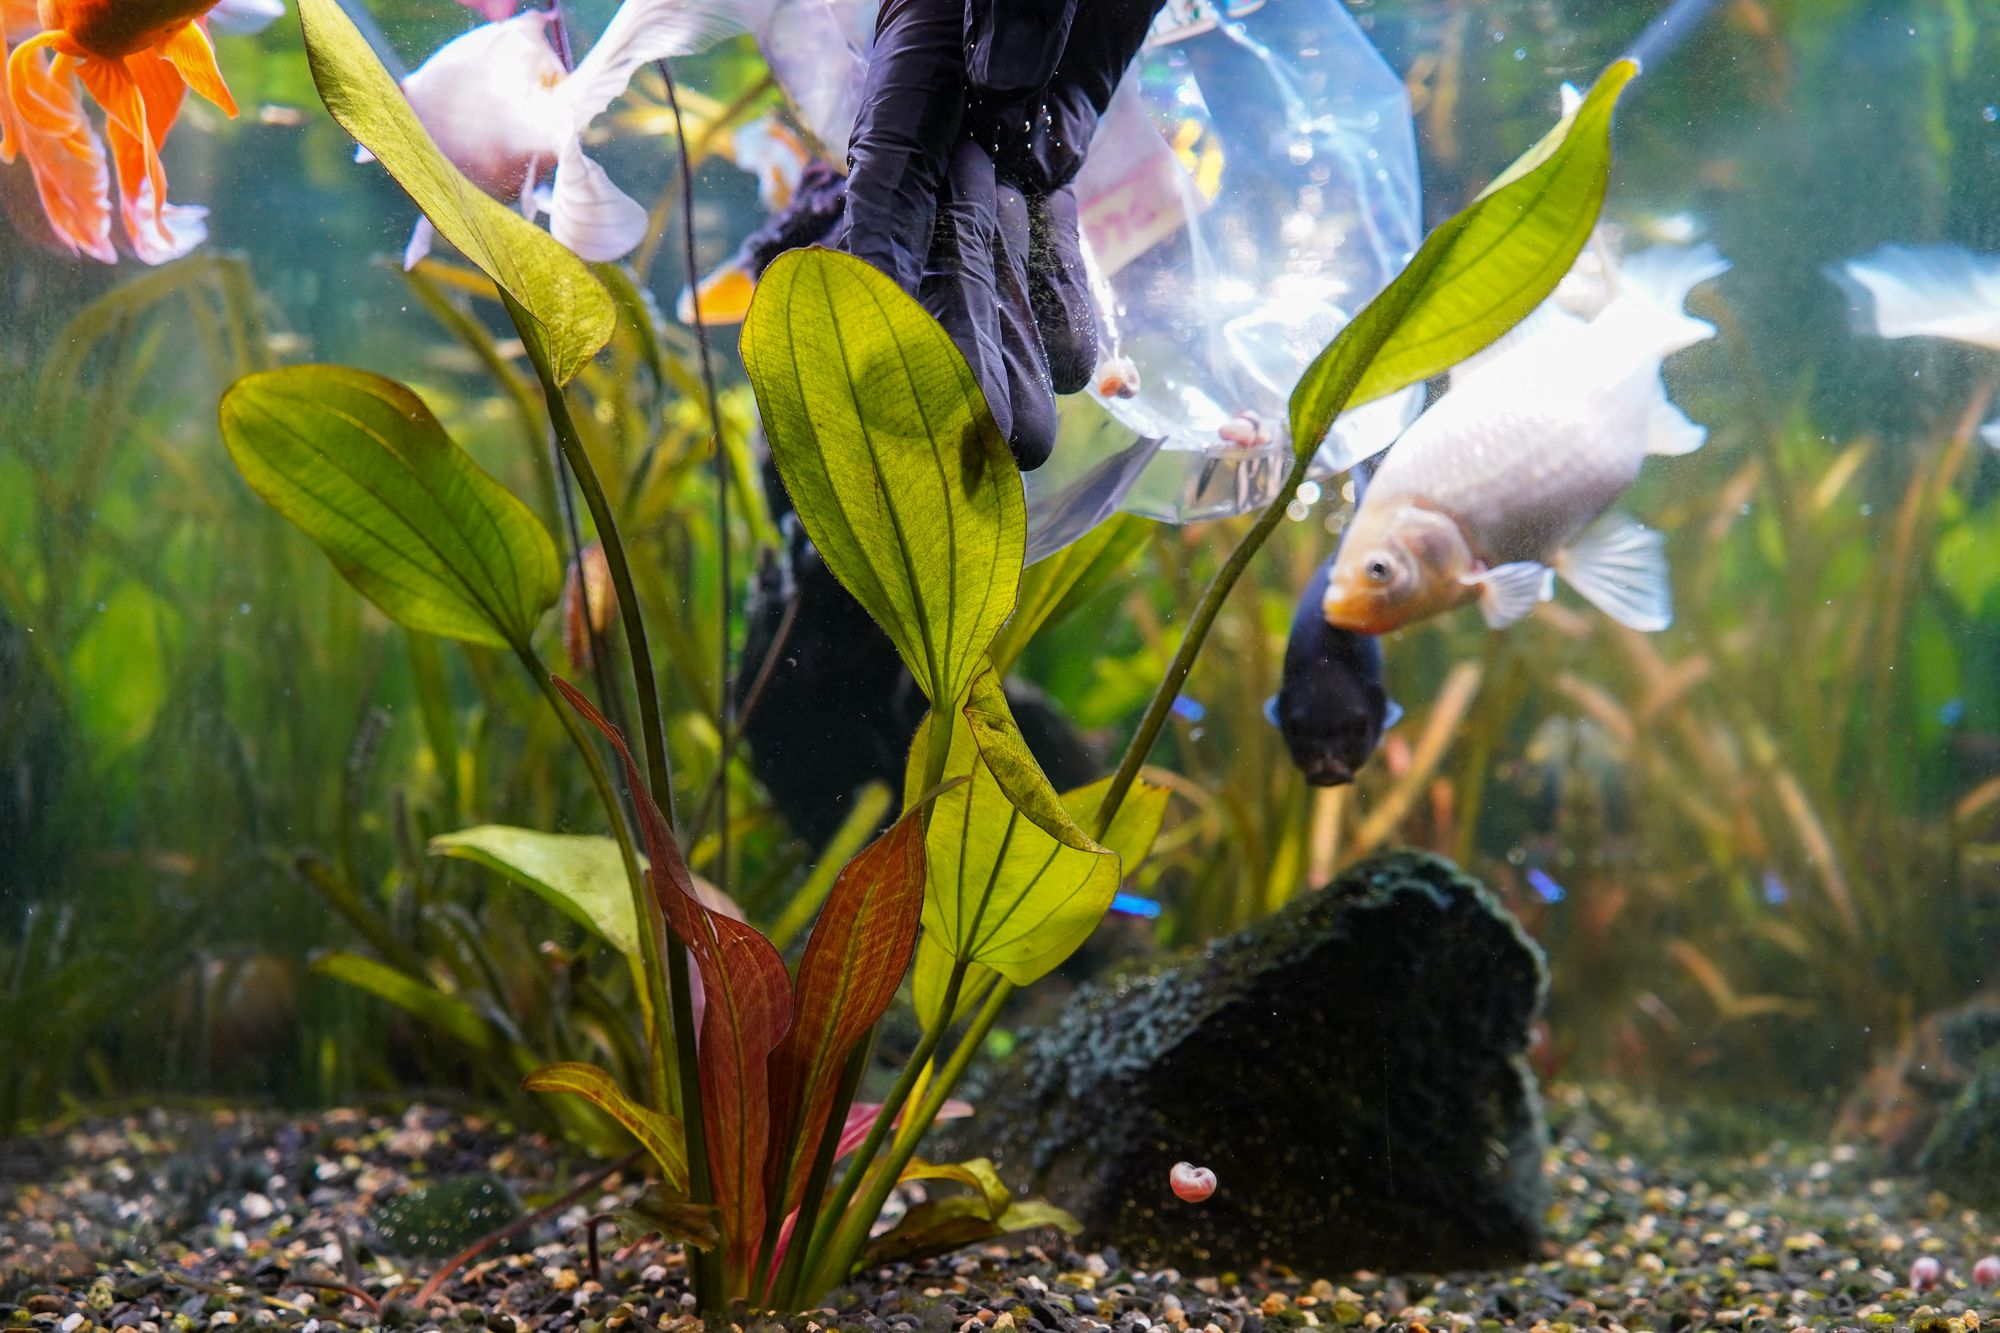 Snail dropping to the ground. Nerite snails or bigger should be placed on the ground with the shell point upwards.